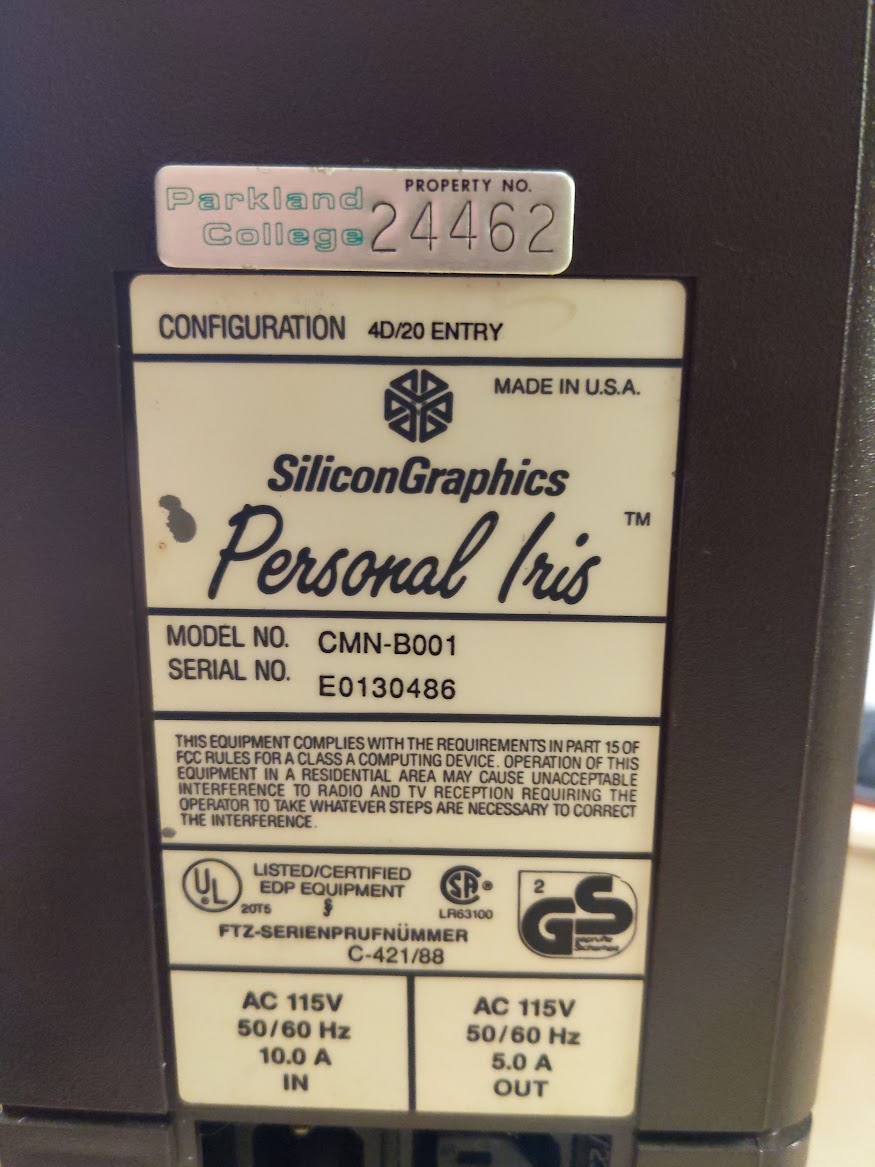
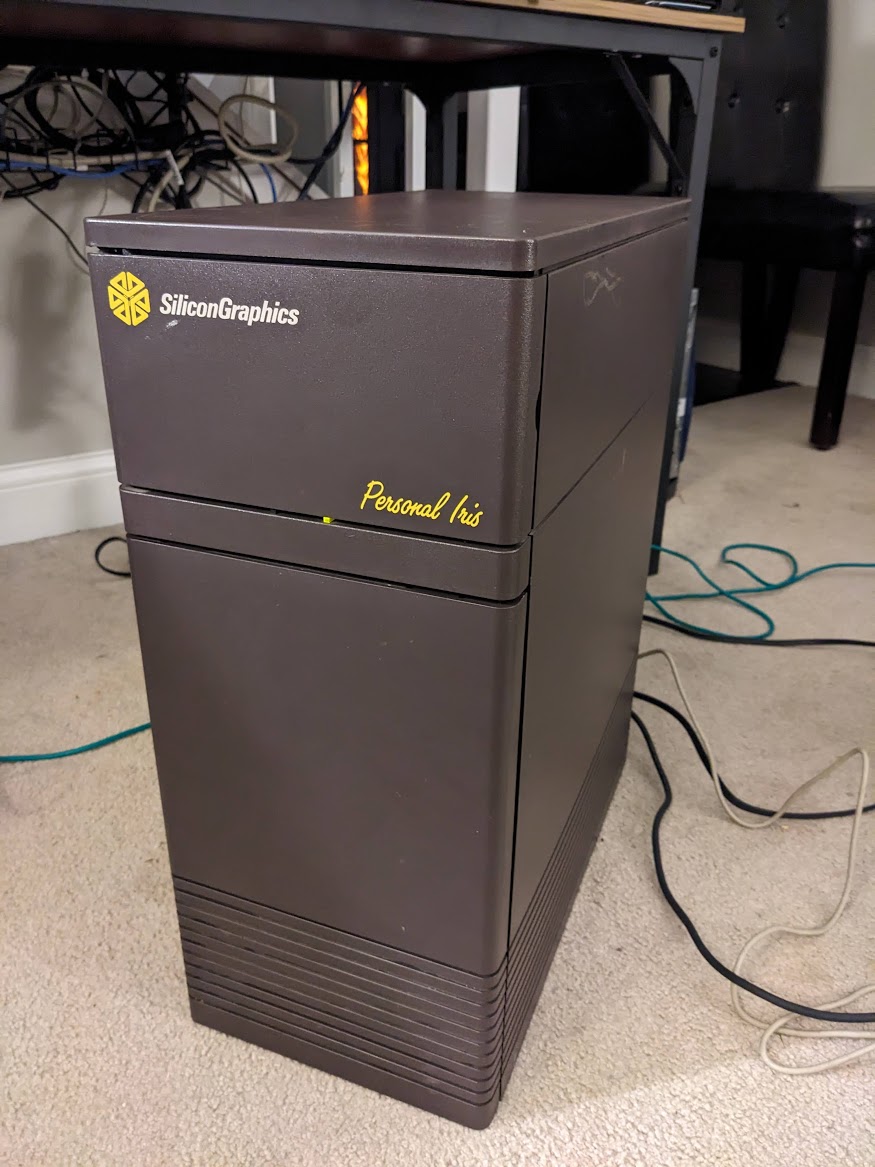
The Silicon Graphics Personal Iris was introduced in 1988 as a low end workstation to the IRIS 4D series based on the MIPS microprocessors. This was Silicon Graphics first release of a low end workstation to contrast the higher end Professional Iris systems and later the PowerSeries workstations.
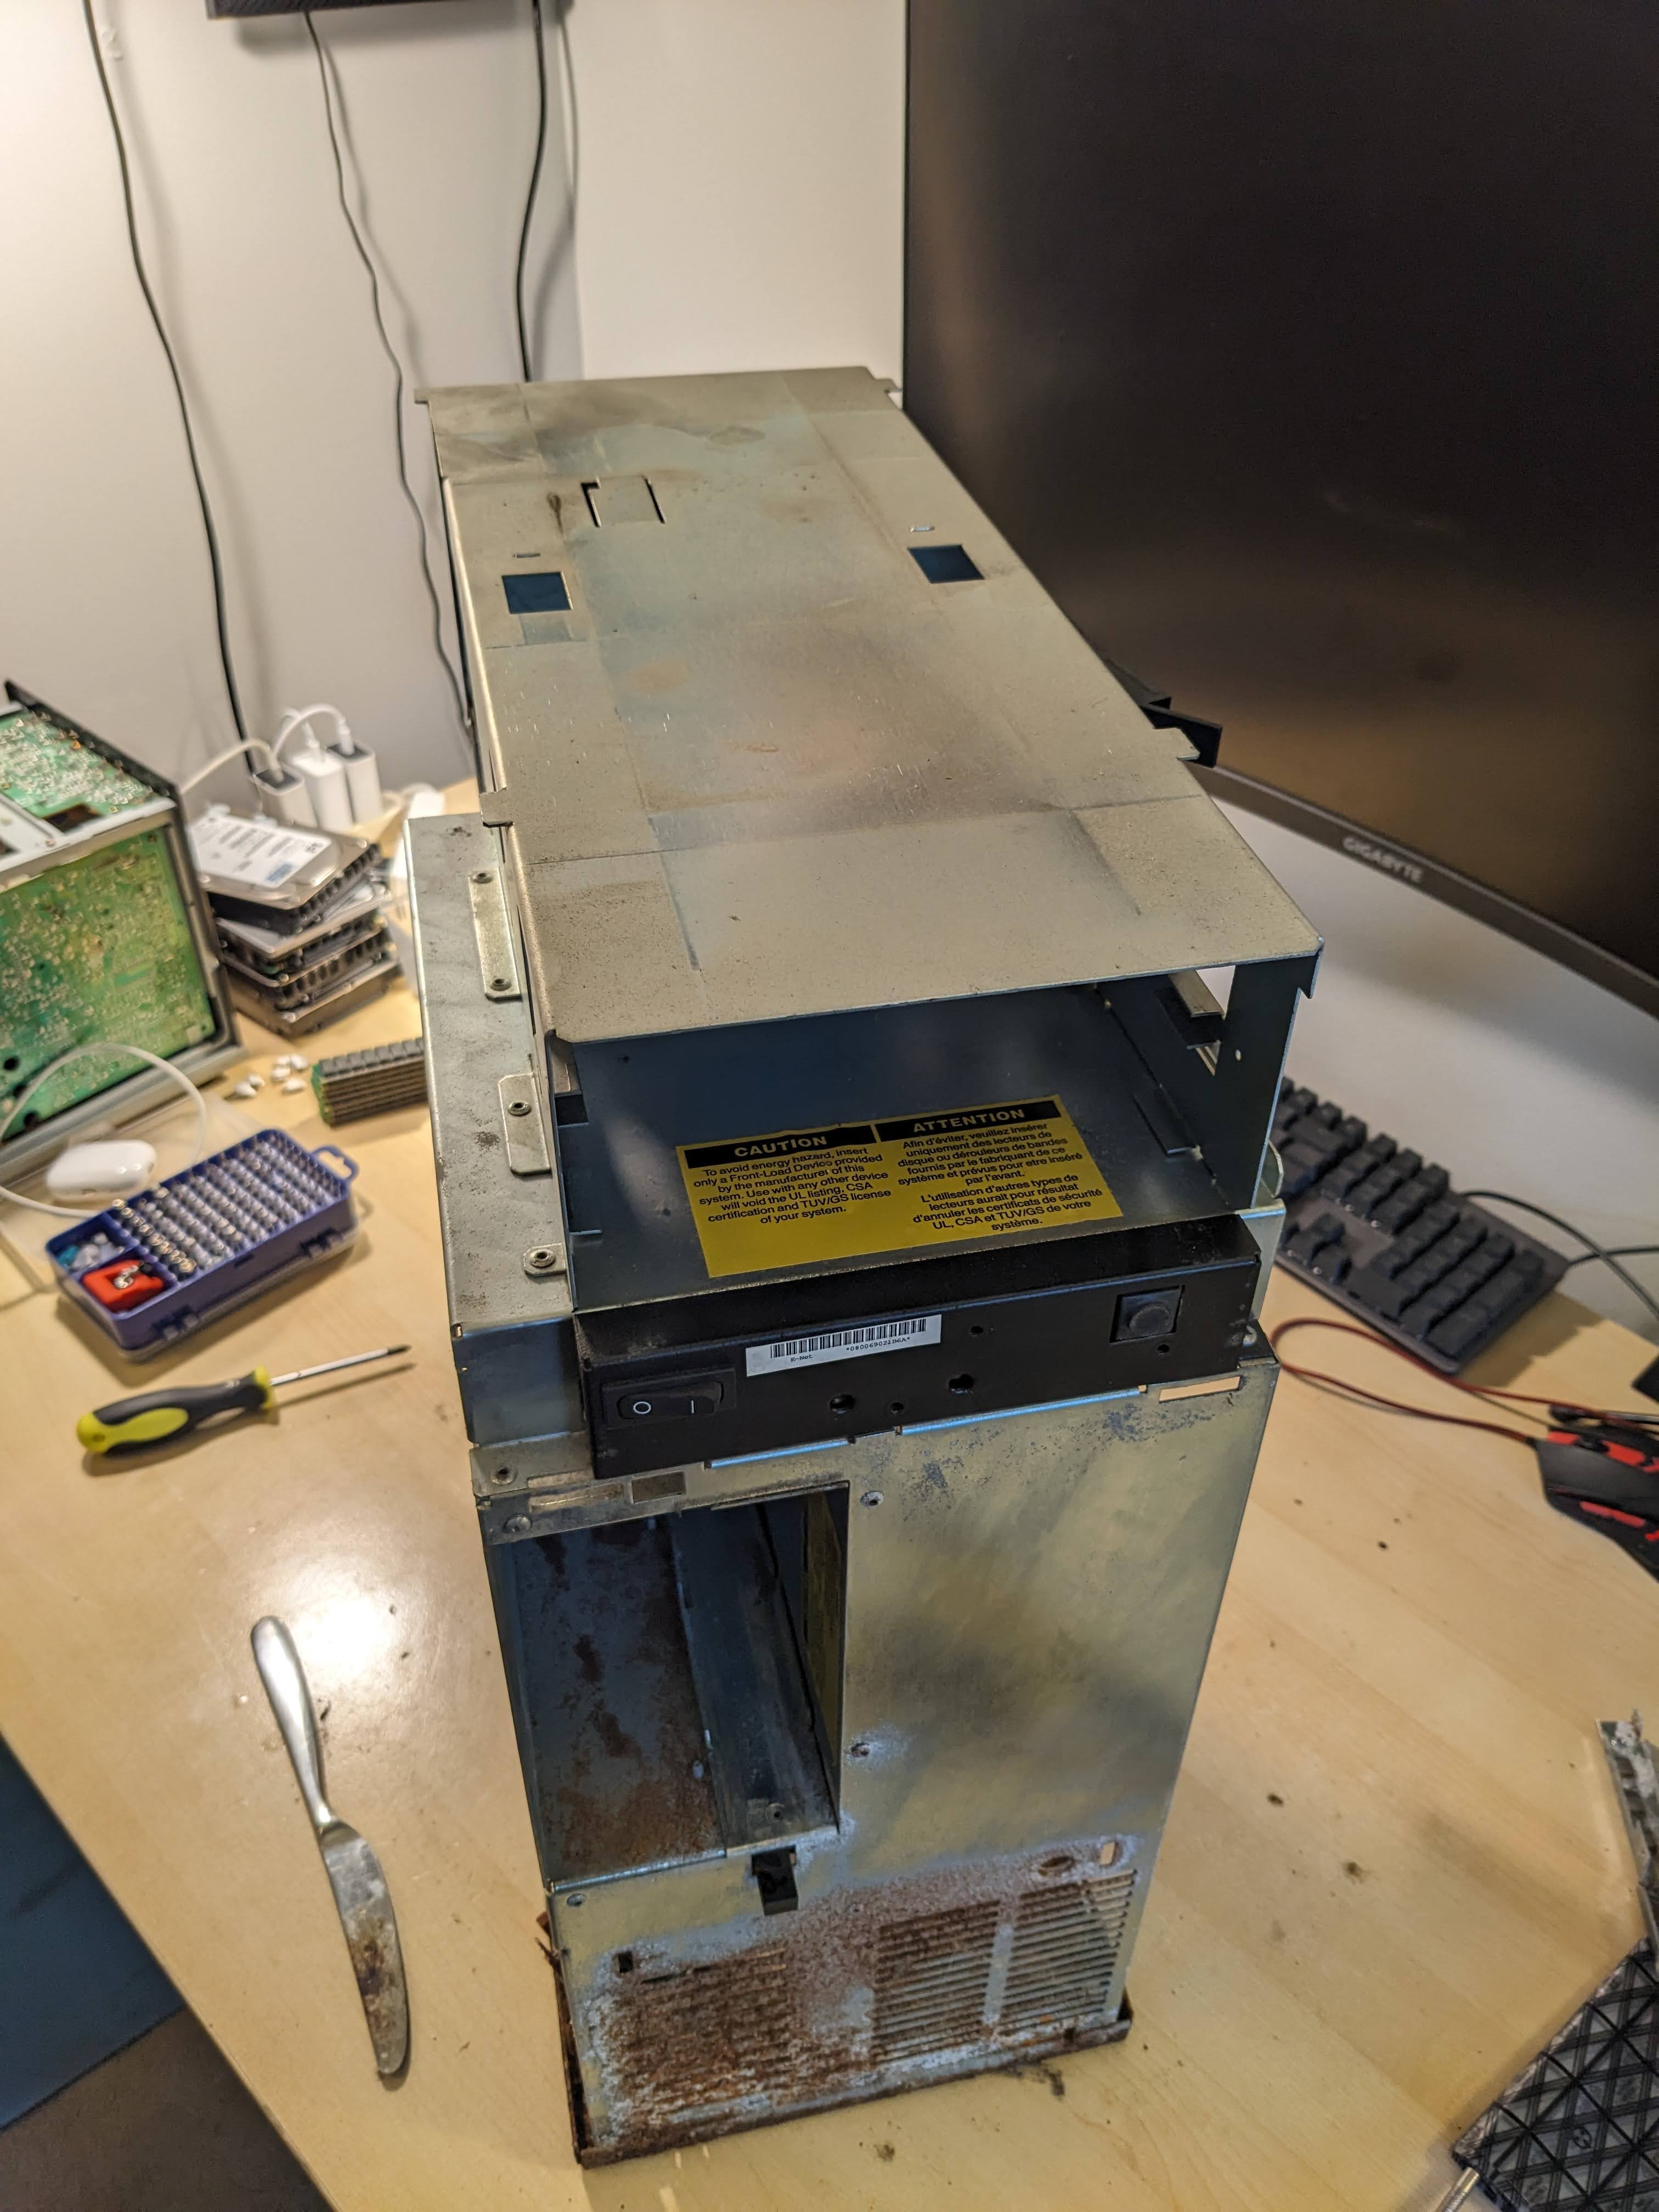
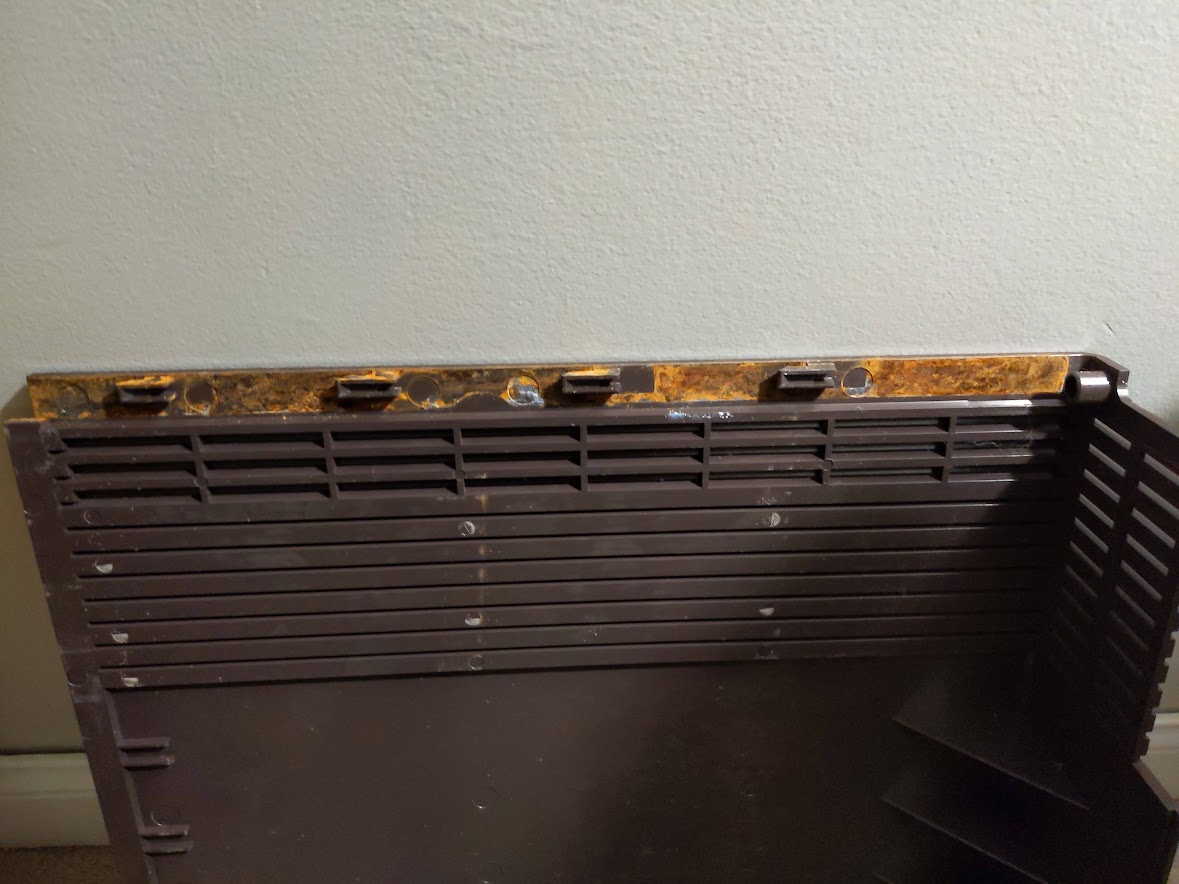
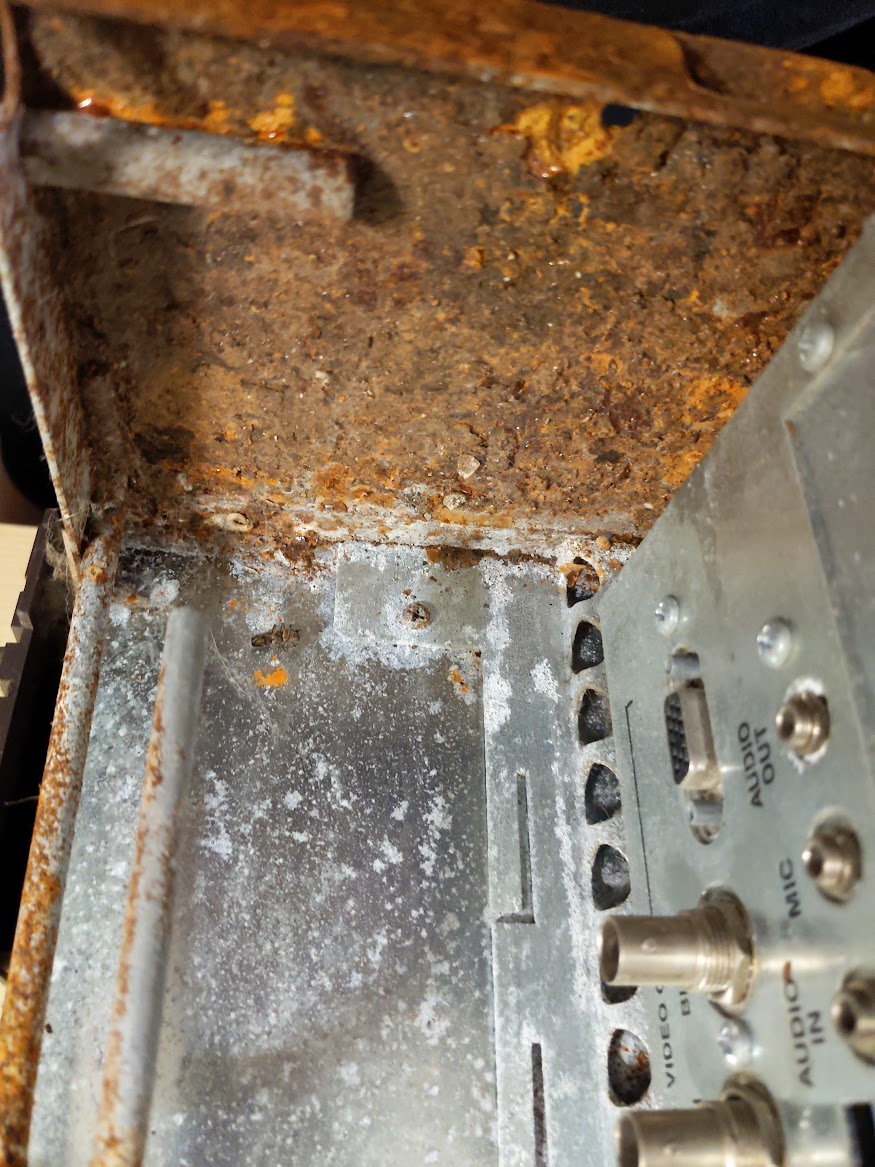
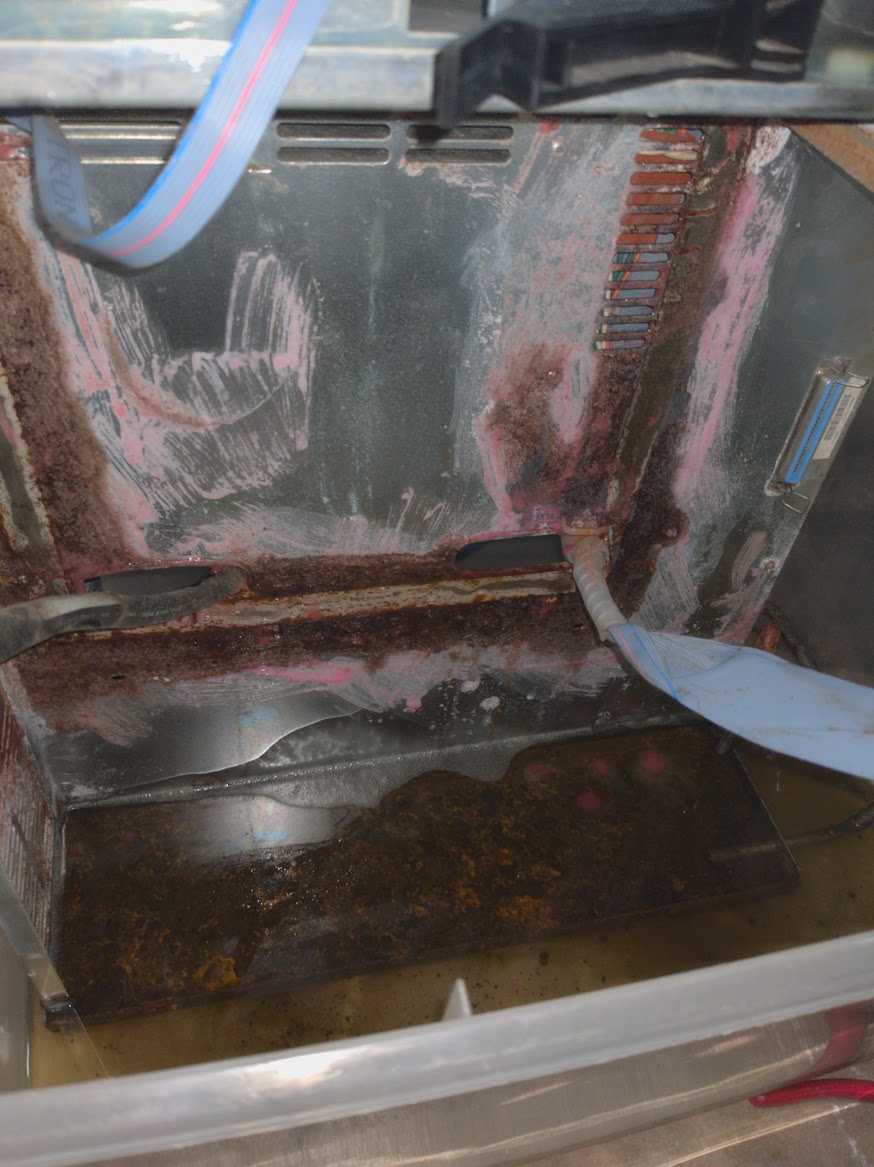
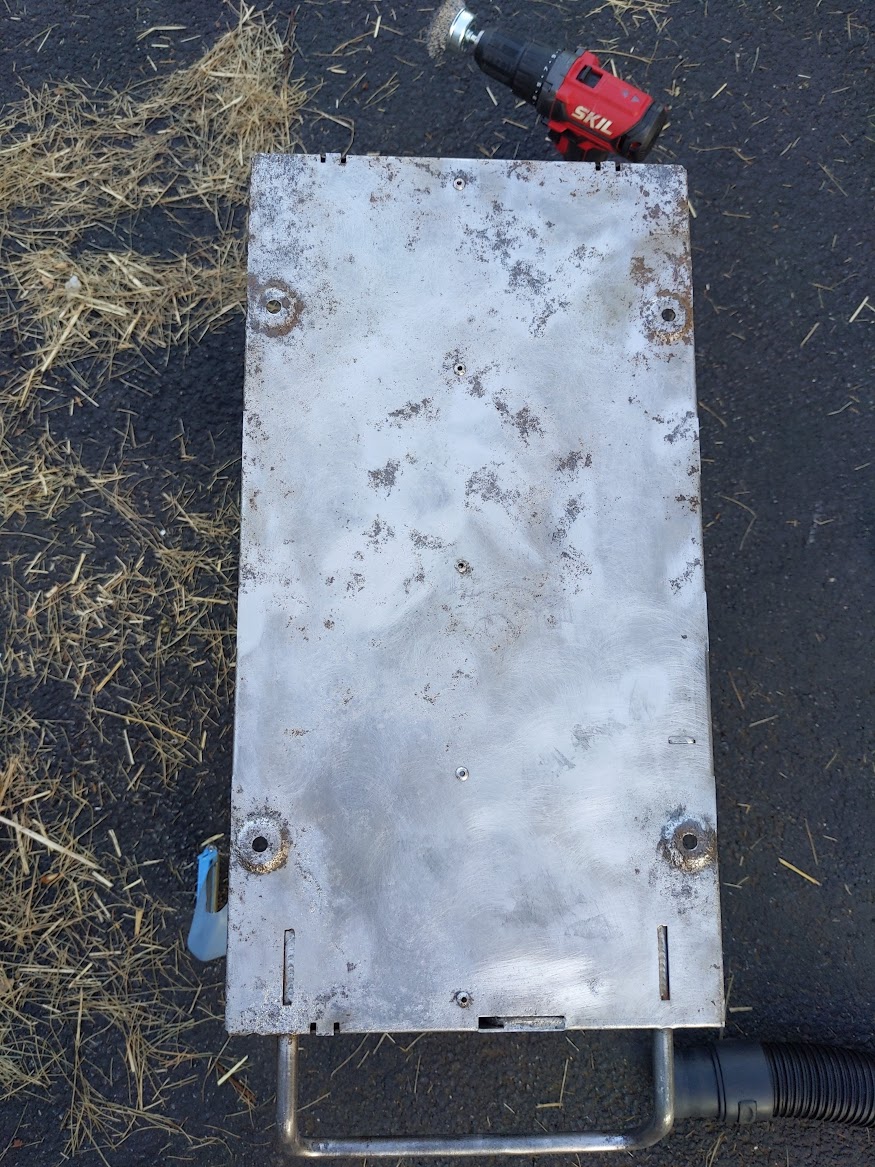
When I first got the system it was in pretty rough shape. The side panel was stuck to the rusted out chassis.

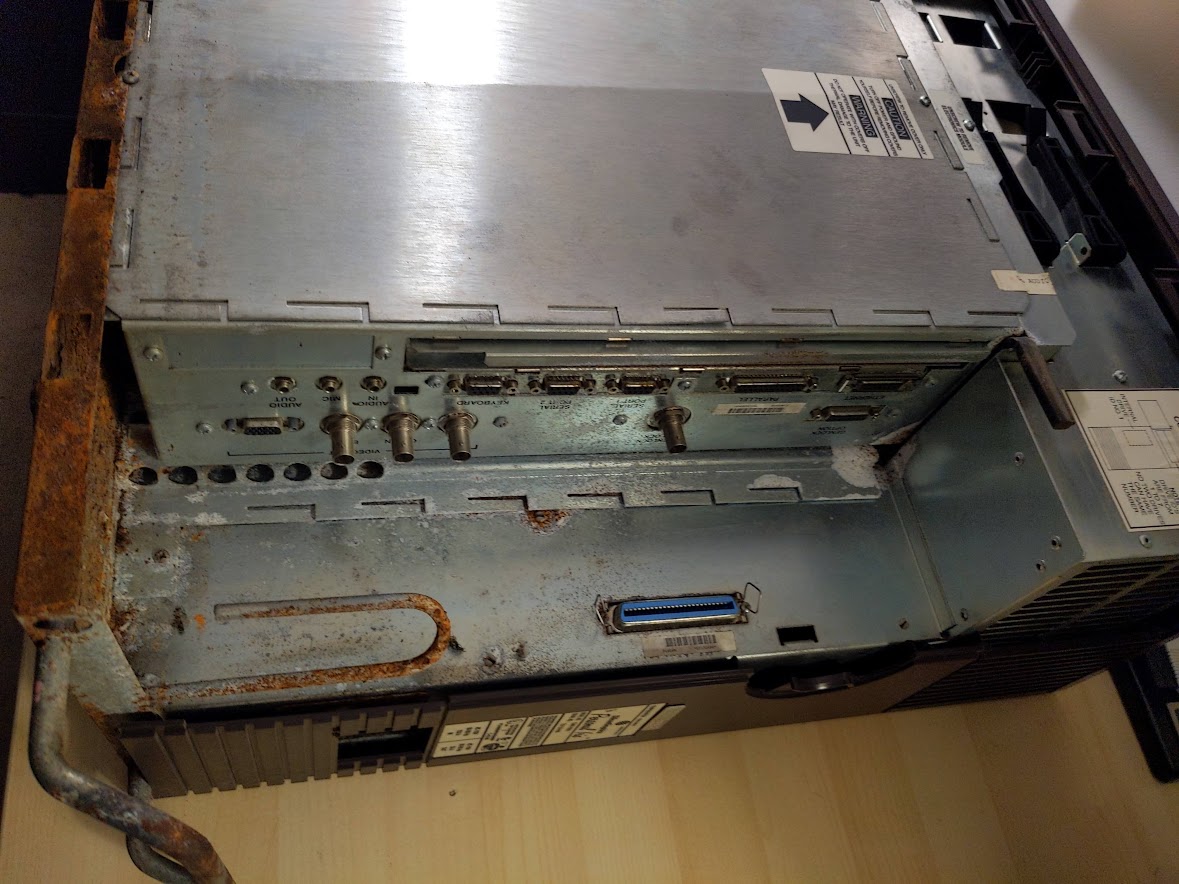

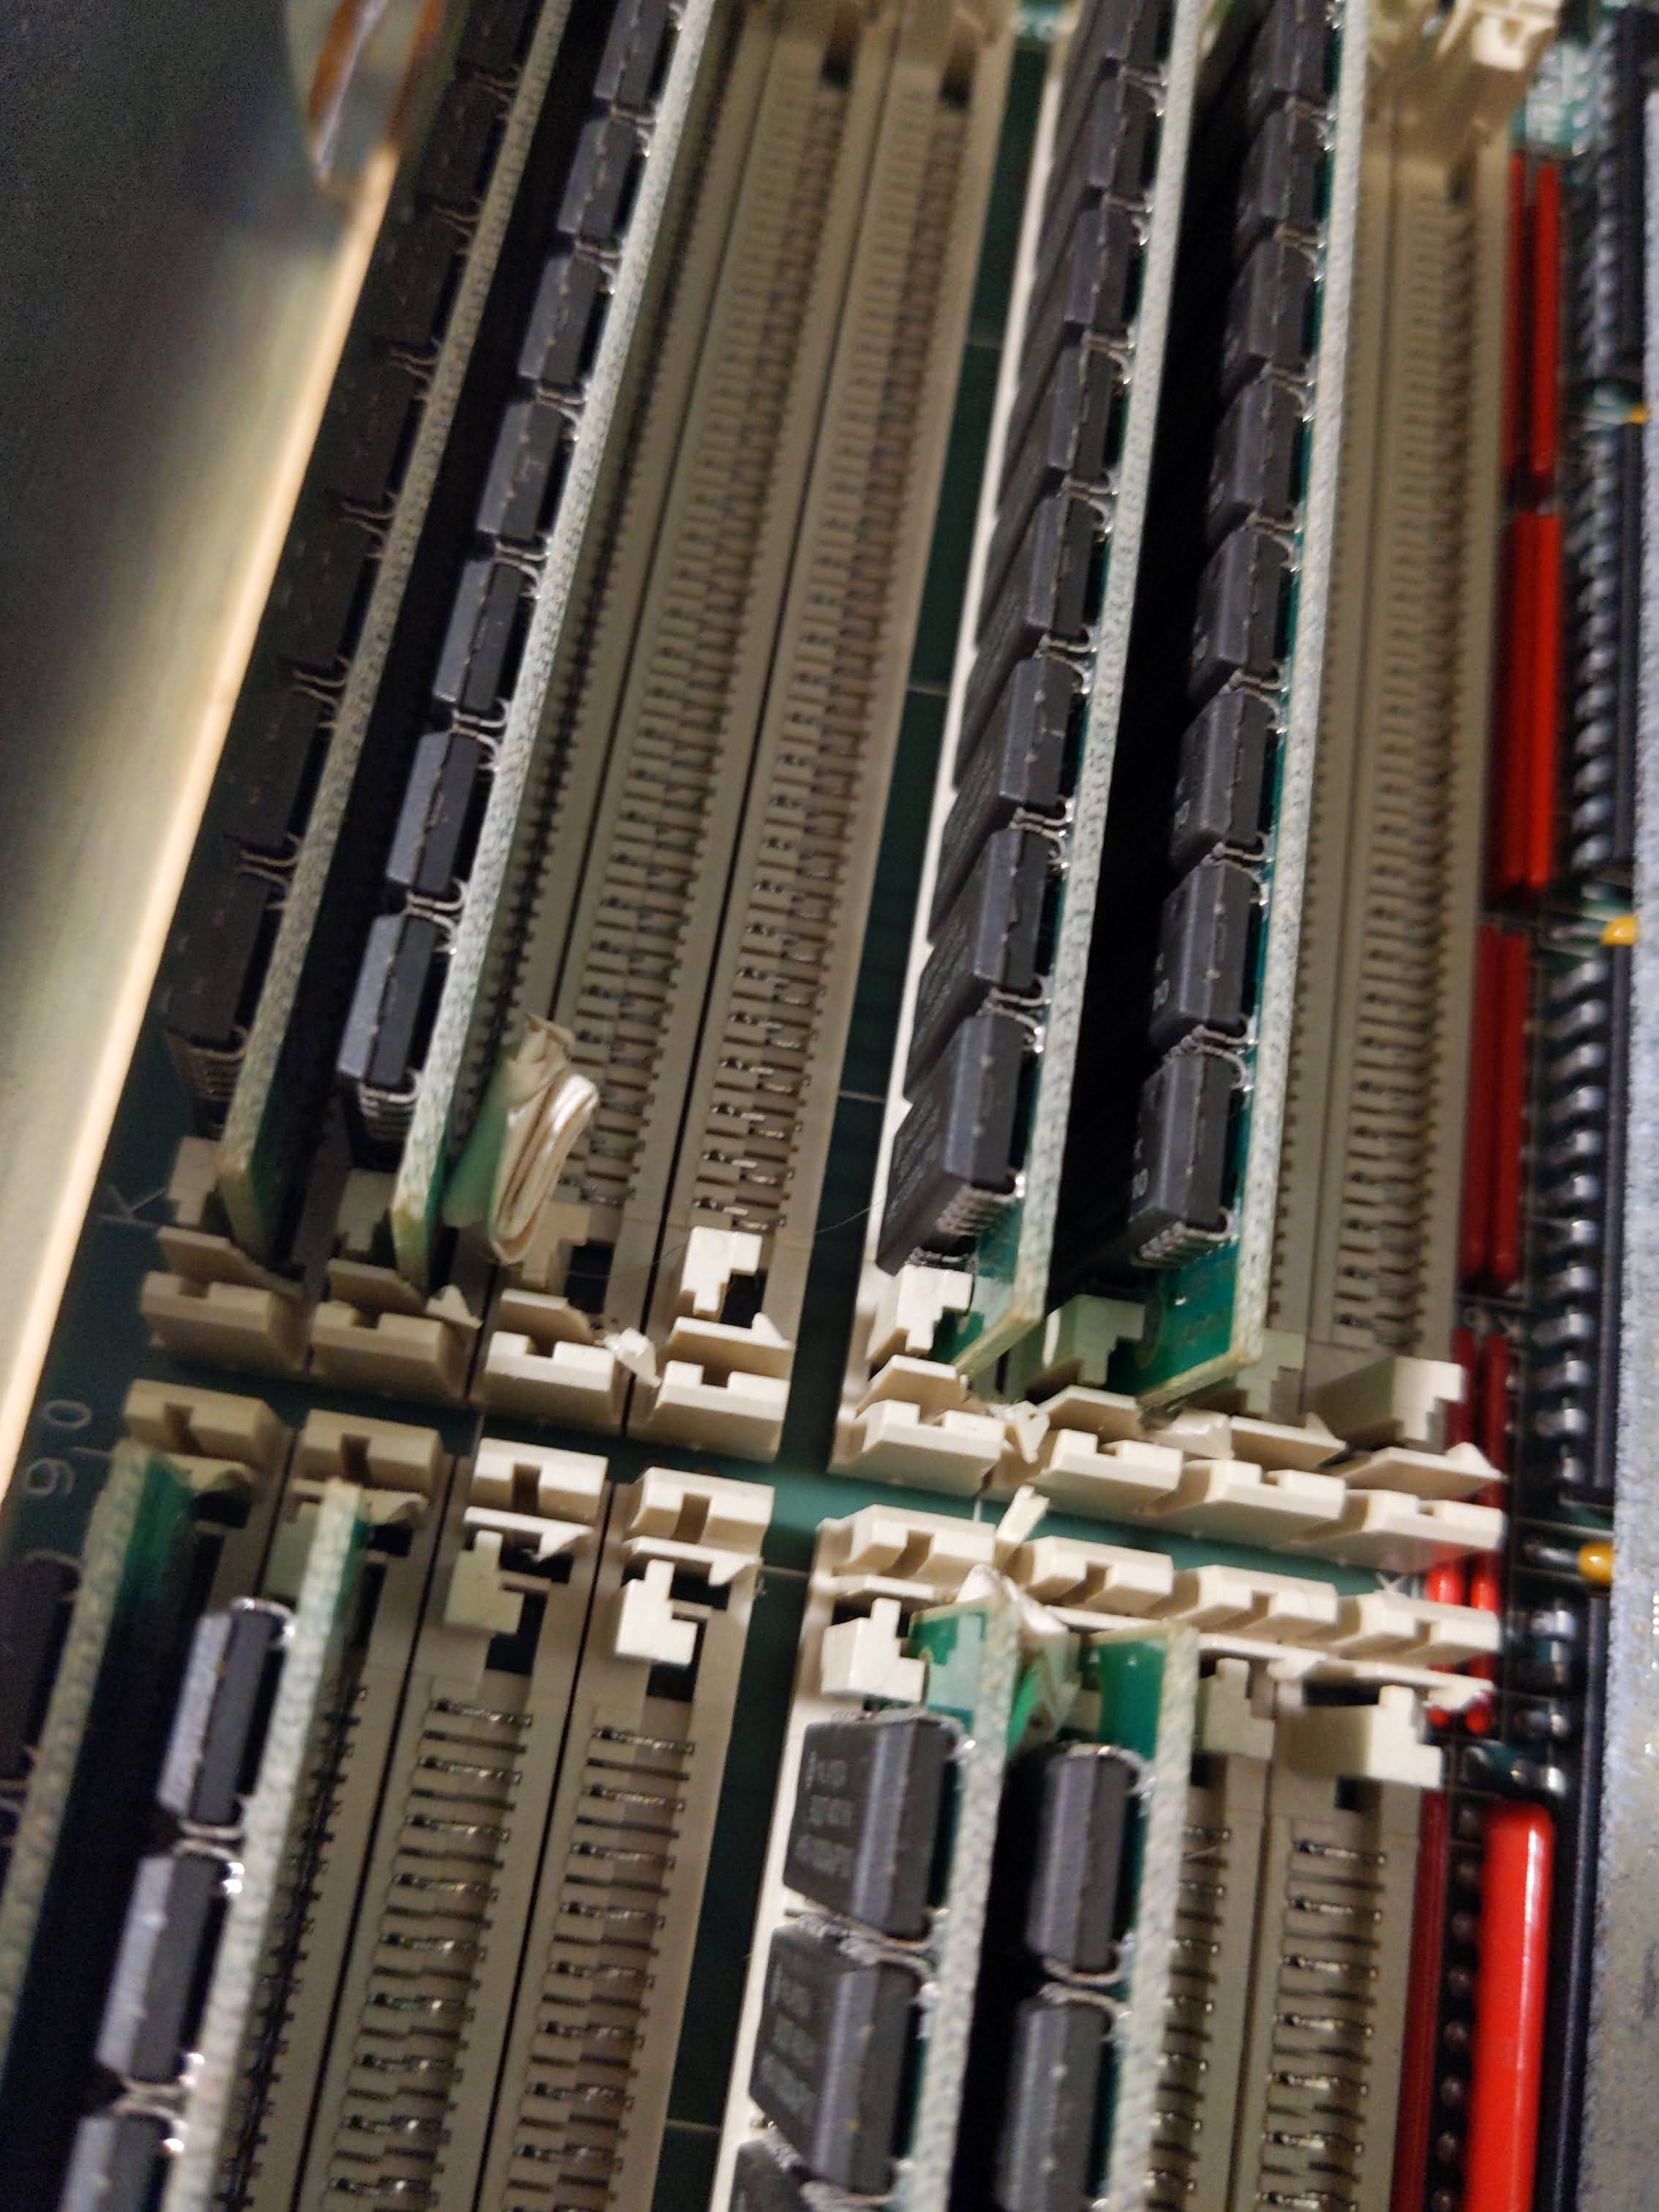
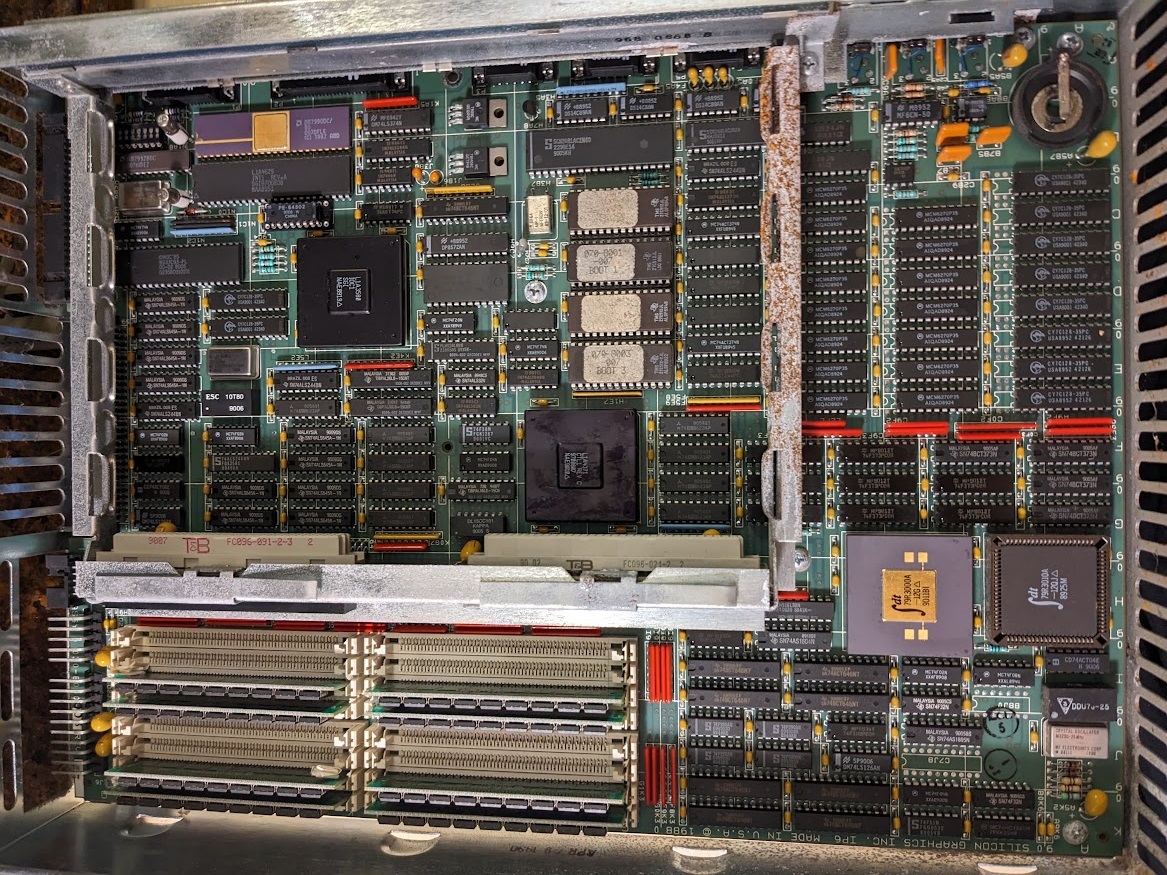
I was originally unaware of this personal iris' specs when I first got it, but after taking off the side panel with some help with a mallet and a wooden block, I could tell from looking at the e-module, which contains all of the boards. I could tell that it had a GR1.5 graphics board by the vga port, and I could tell that it was an IP6 CPU board due to the DB9 serial ports.
After taking off the metal sheet covering the CPU board side of the e-module, it was astonishing how clean the board was. I was expecting the boards to be in the same condition as the rest of the chassis. Guess I got lucky.
Here is a picture of the graphics board on the other side of the e-module
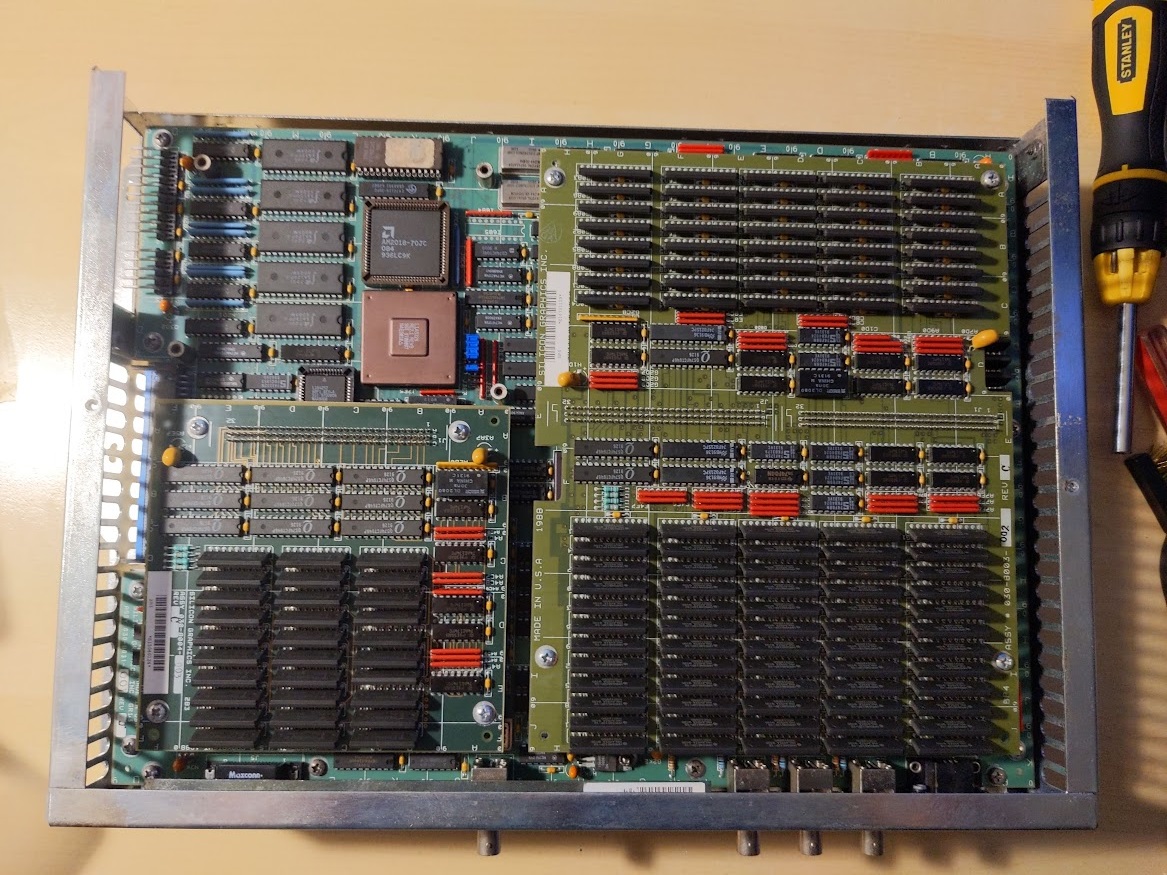
Sweeeeeet we got ourselves the super graphics option, which consists of the 24-bit plane board and the Z-buffer board installed onto the GR1.5. Sadly no turbo graphics option which has the Geometry Engines but I'm not complaining.
After gutting the chassis and removing all the skins I prepared a bath of Evaporust

I had also lathered some of the rust in the best smelling goo, naval gel!!!
Letting it soak in the bath all night lead to this
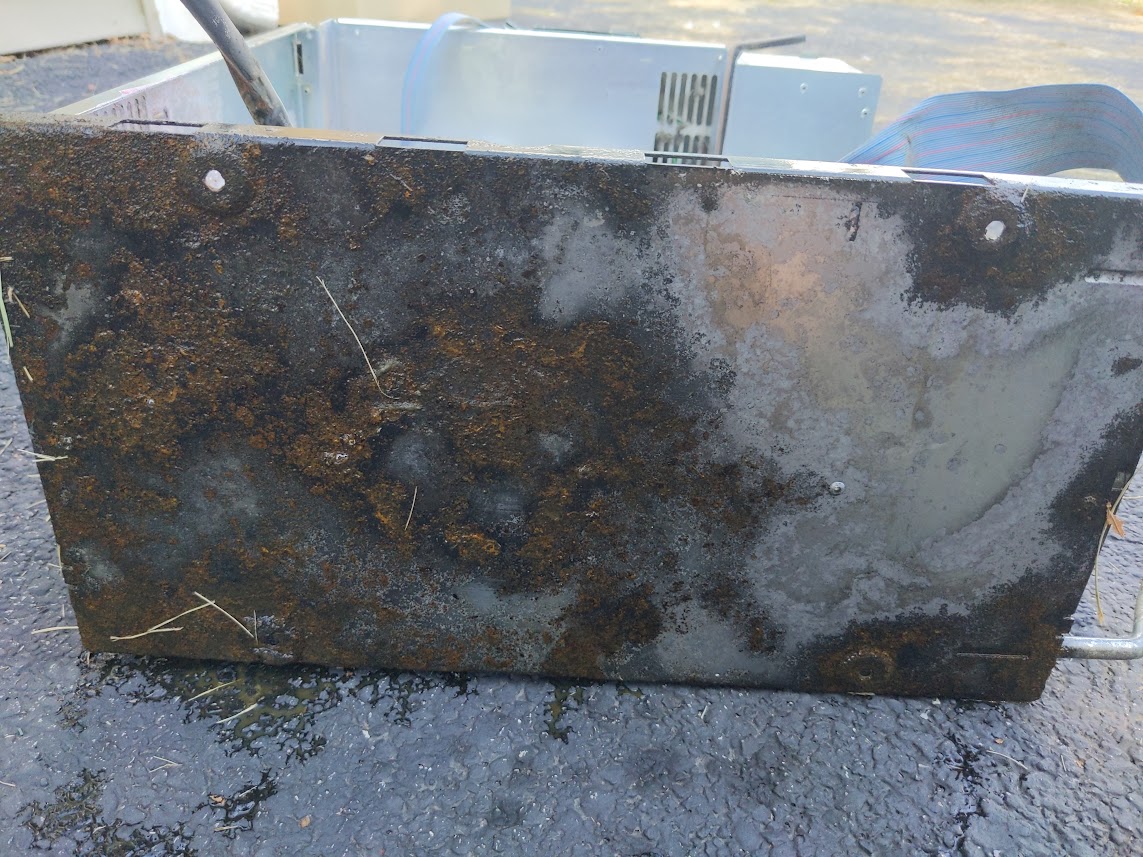
Not bad at all. This stuff is amazing. Lets keep scrubbing this rust away!
After a bunch of scrubbing with a wire brush and lots of that smelly goo. Its good enough for me. I had also done this same proccess for the rest of the metal parts of the chassis. Finally I sprayed the parts with a clear lacquer to prevent future rusting.
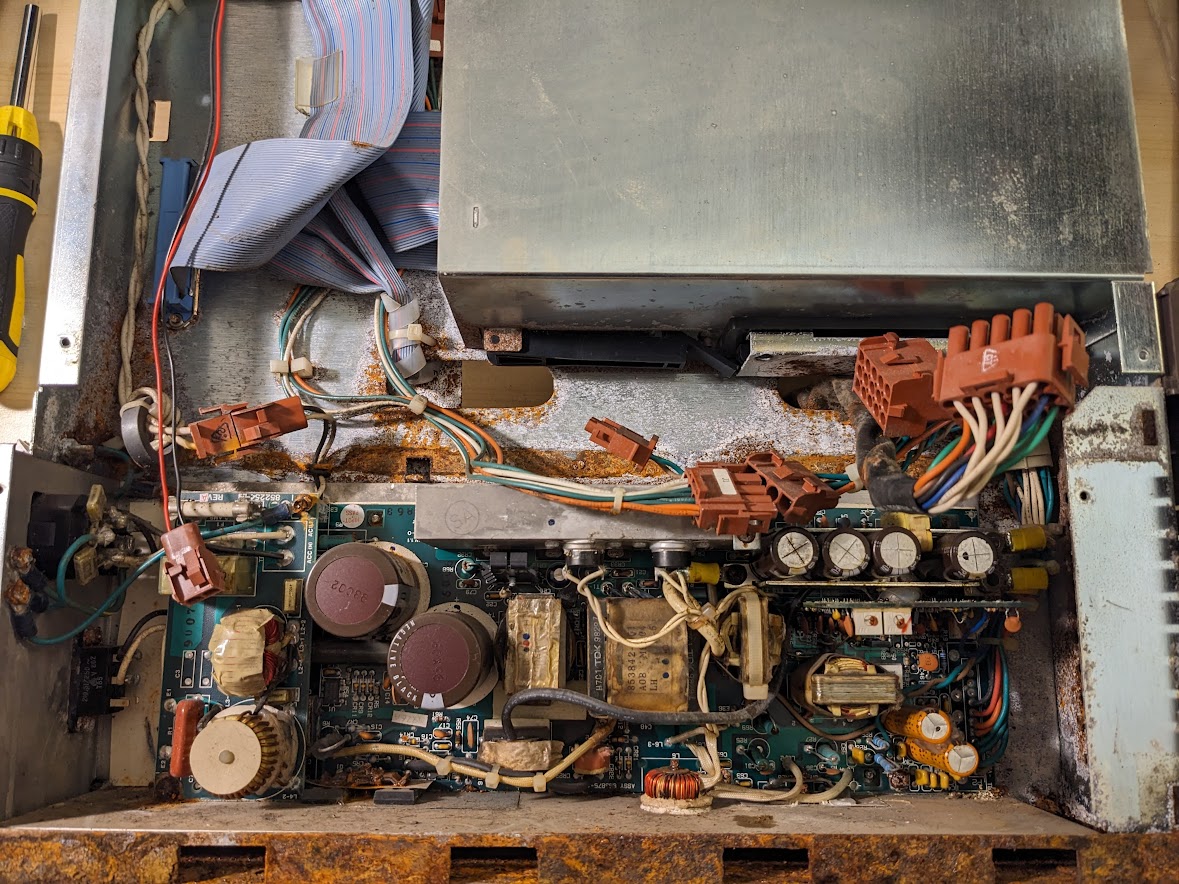
YIKES this thing is a mess. It didn't fair as well as the system boards and these are known to be unreliable. So time to find a replacement.
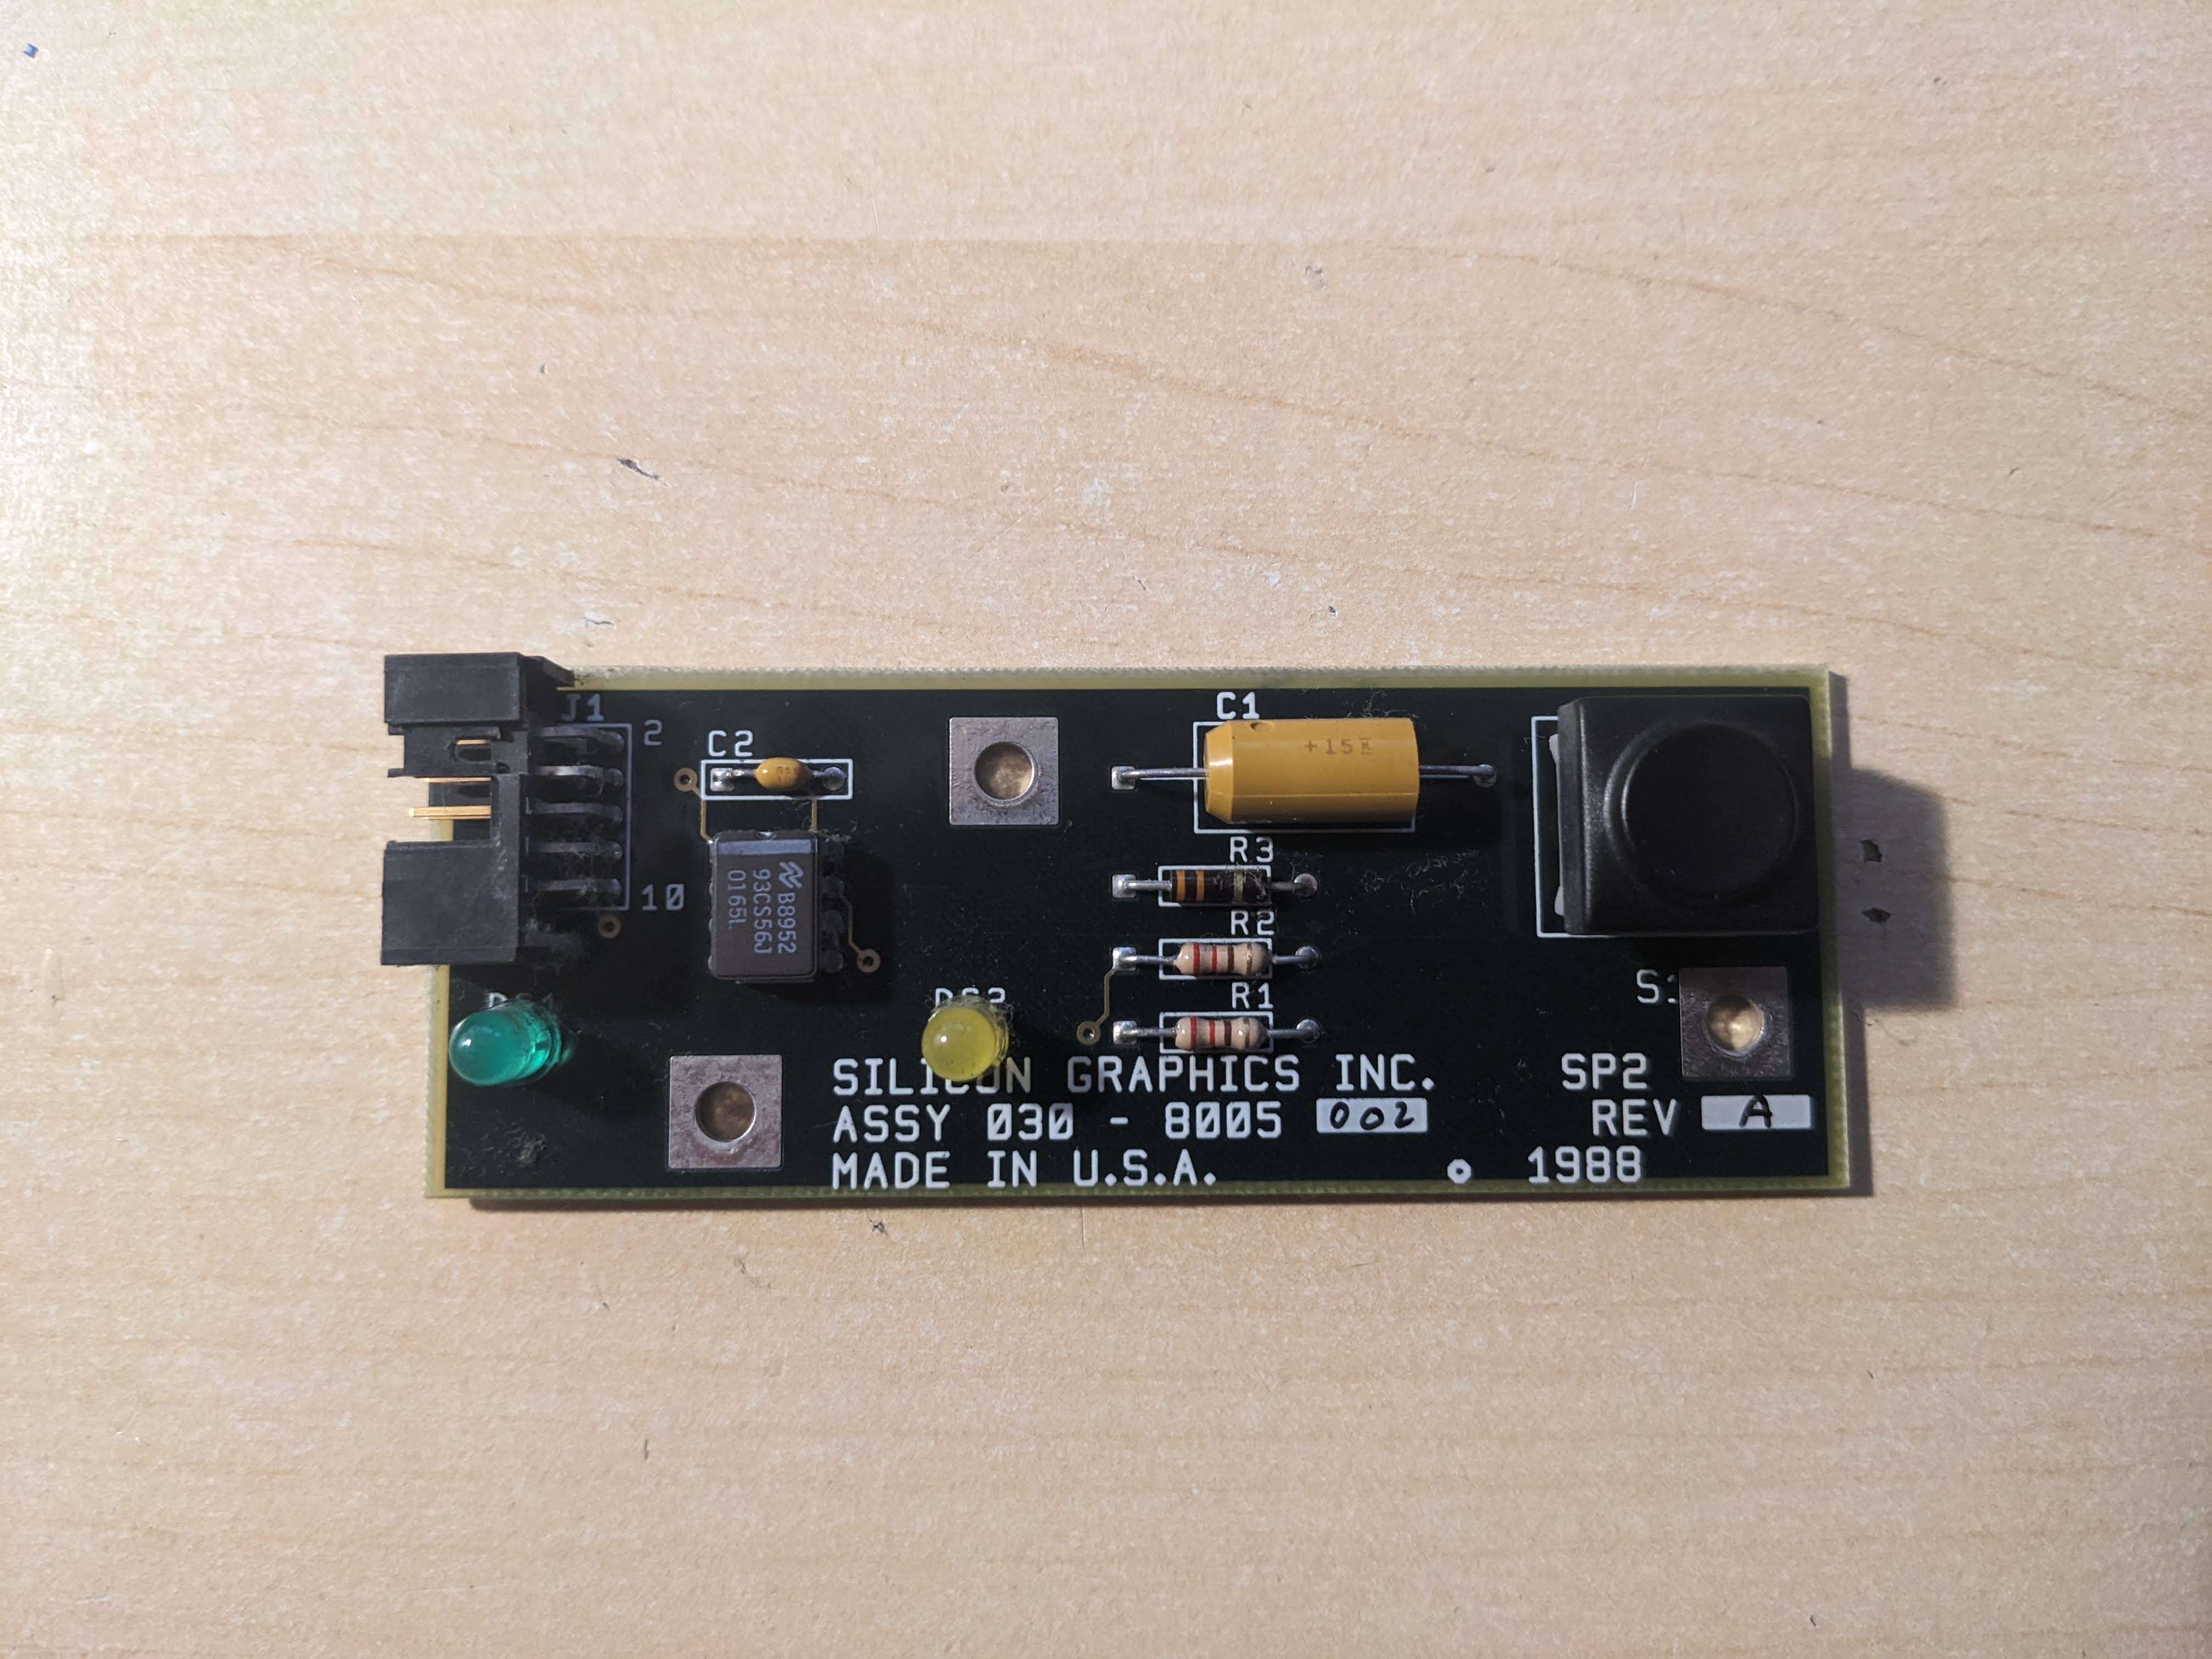
The Personal iris has 3 main voltage rails
    +5V  @ 45A
    +12V @ 9A
    -12V @ 2A
The Personal iris needs quite the hefty +5v rail for all of its TTL logic. Instead of buying single PSU like Jan-Jaap did on IRIXNET I decided to go for a more wild approche. I got myself a LRS-350-5 from digikey which can supply 60a on the +5v rail. I also used a small dell atx psu I had laying around for the +12v and -12v rail.
The color code for the PSU is as follows
    green        GND
    white        +5V
    orange       +12V
    brown        -12V
    red          sense+
    black        sense-
    blue         PFD
    yellow       PFD

    note: don't rely on the color codes, there apparently is no strict standard.
Here are the pinouts for the PSU cable
E-Module Power
-|--------- | pin #1 marker
| U O O O O | +5V white pin #1, #4, #7, #10, #13 (top row)
| O O O O D | +12V orange pin #2
| D O O O O | -12V brown pin #5
----------- sense+ red pin #8
sense- black pin #11
PFD blue pin #14
GND green pin #3, #6, #9, #12, #15 (bottom row)
Internal SCSI Power
-|------- | pin #1 marker
| U O O U | +5V white pin #1
--------- GND green pin #2, #3
+12V orange pin #4
On/Off-Switch
-|--- | pin #1 marker
| U U | Hot white 115/230V
----- Return black 0V
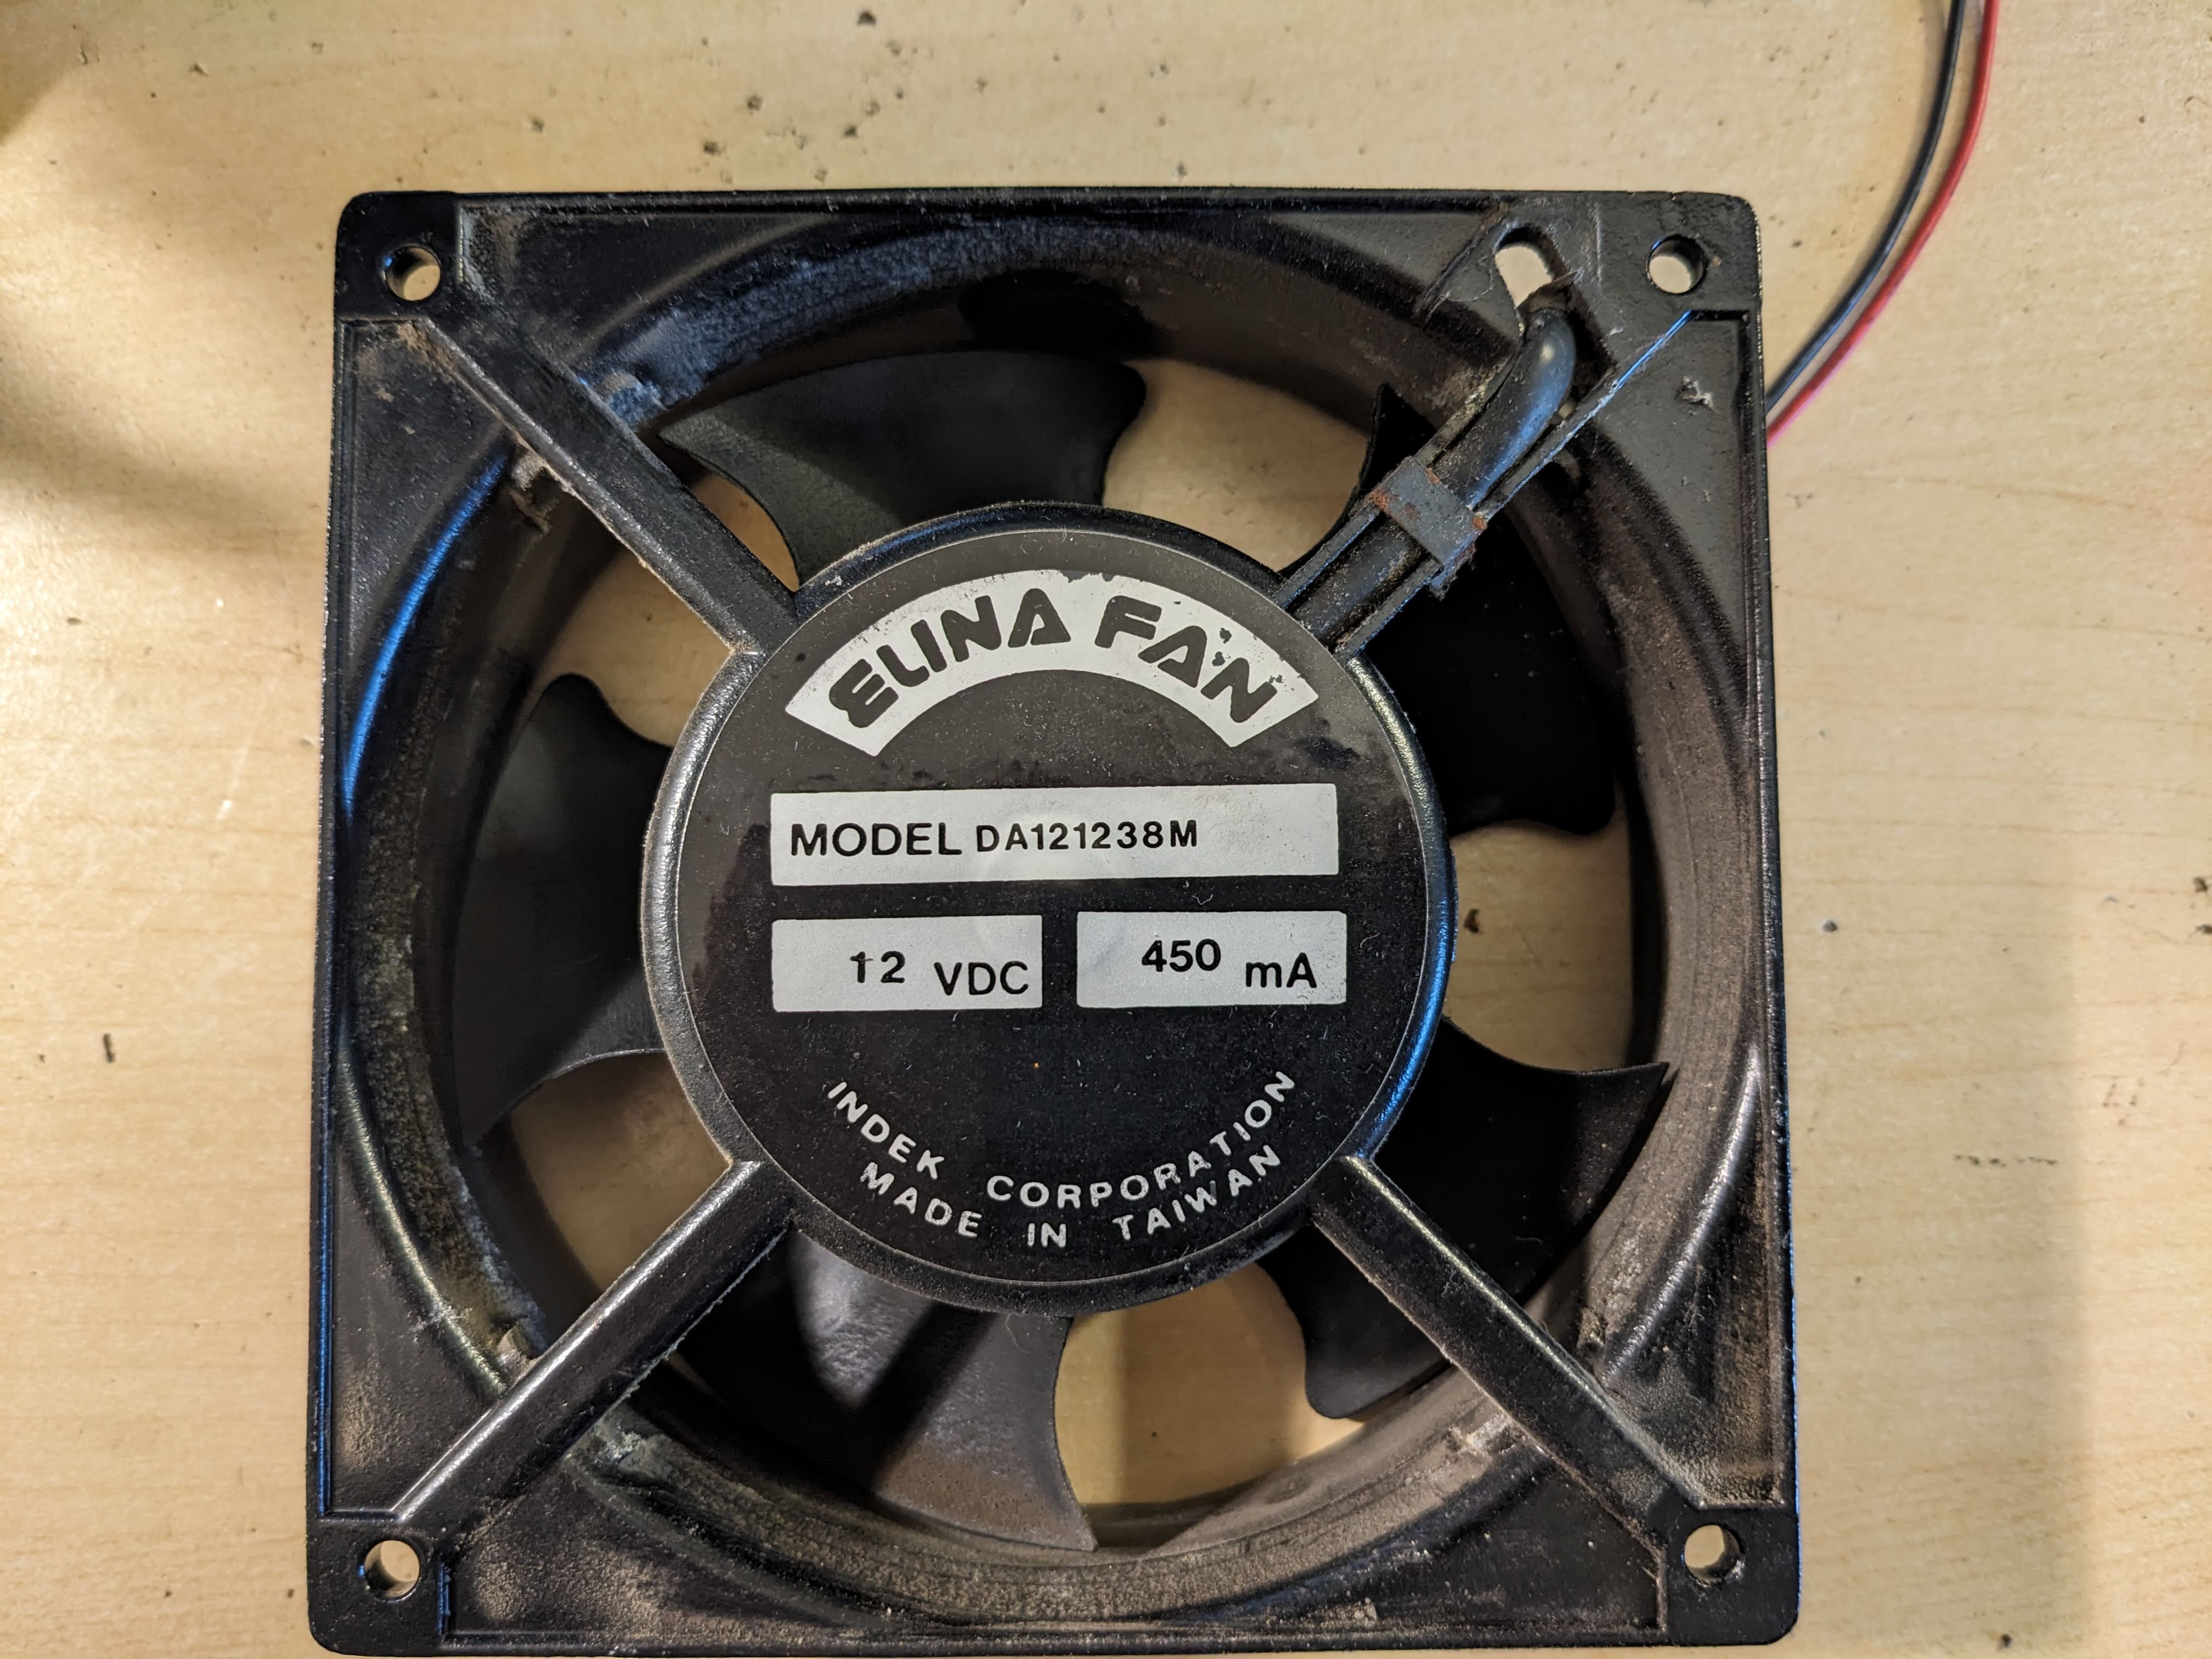
Fan Power
-----
| U U | +12V brown (some docs say "-12V" which matches the color code)
----- GND green
I wired all the power supplies together to the power harness.
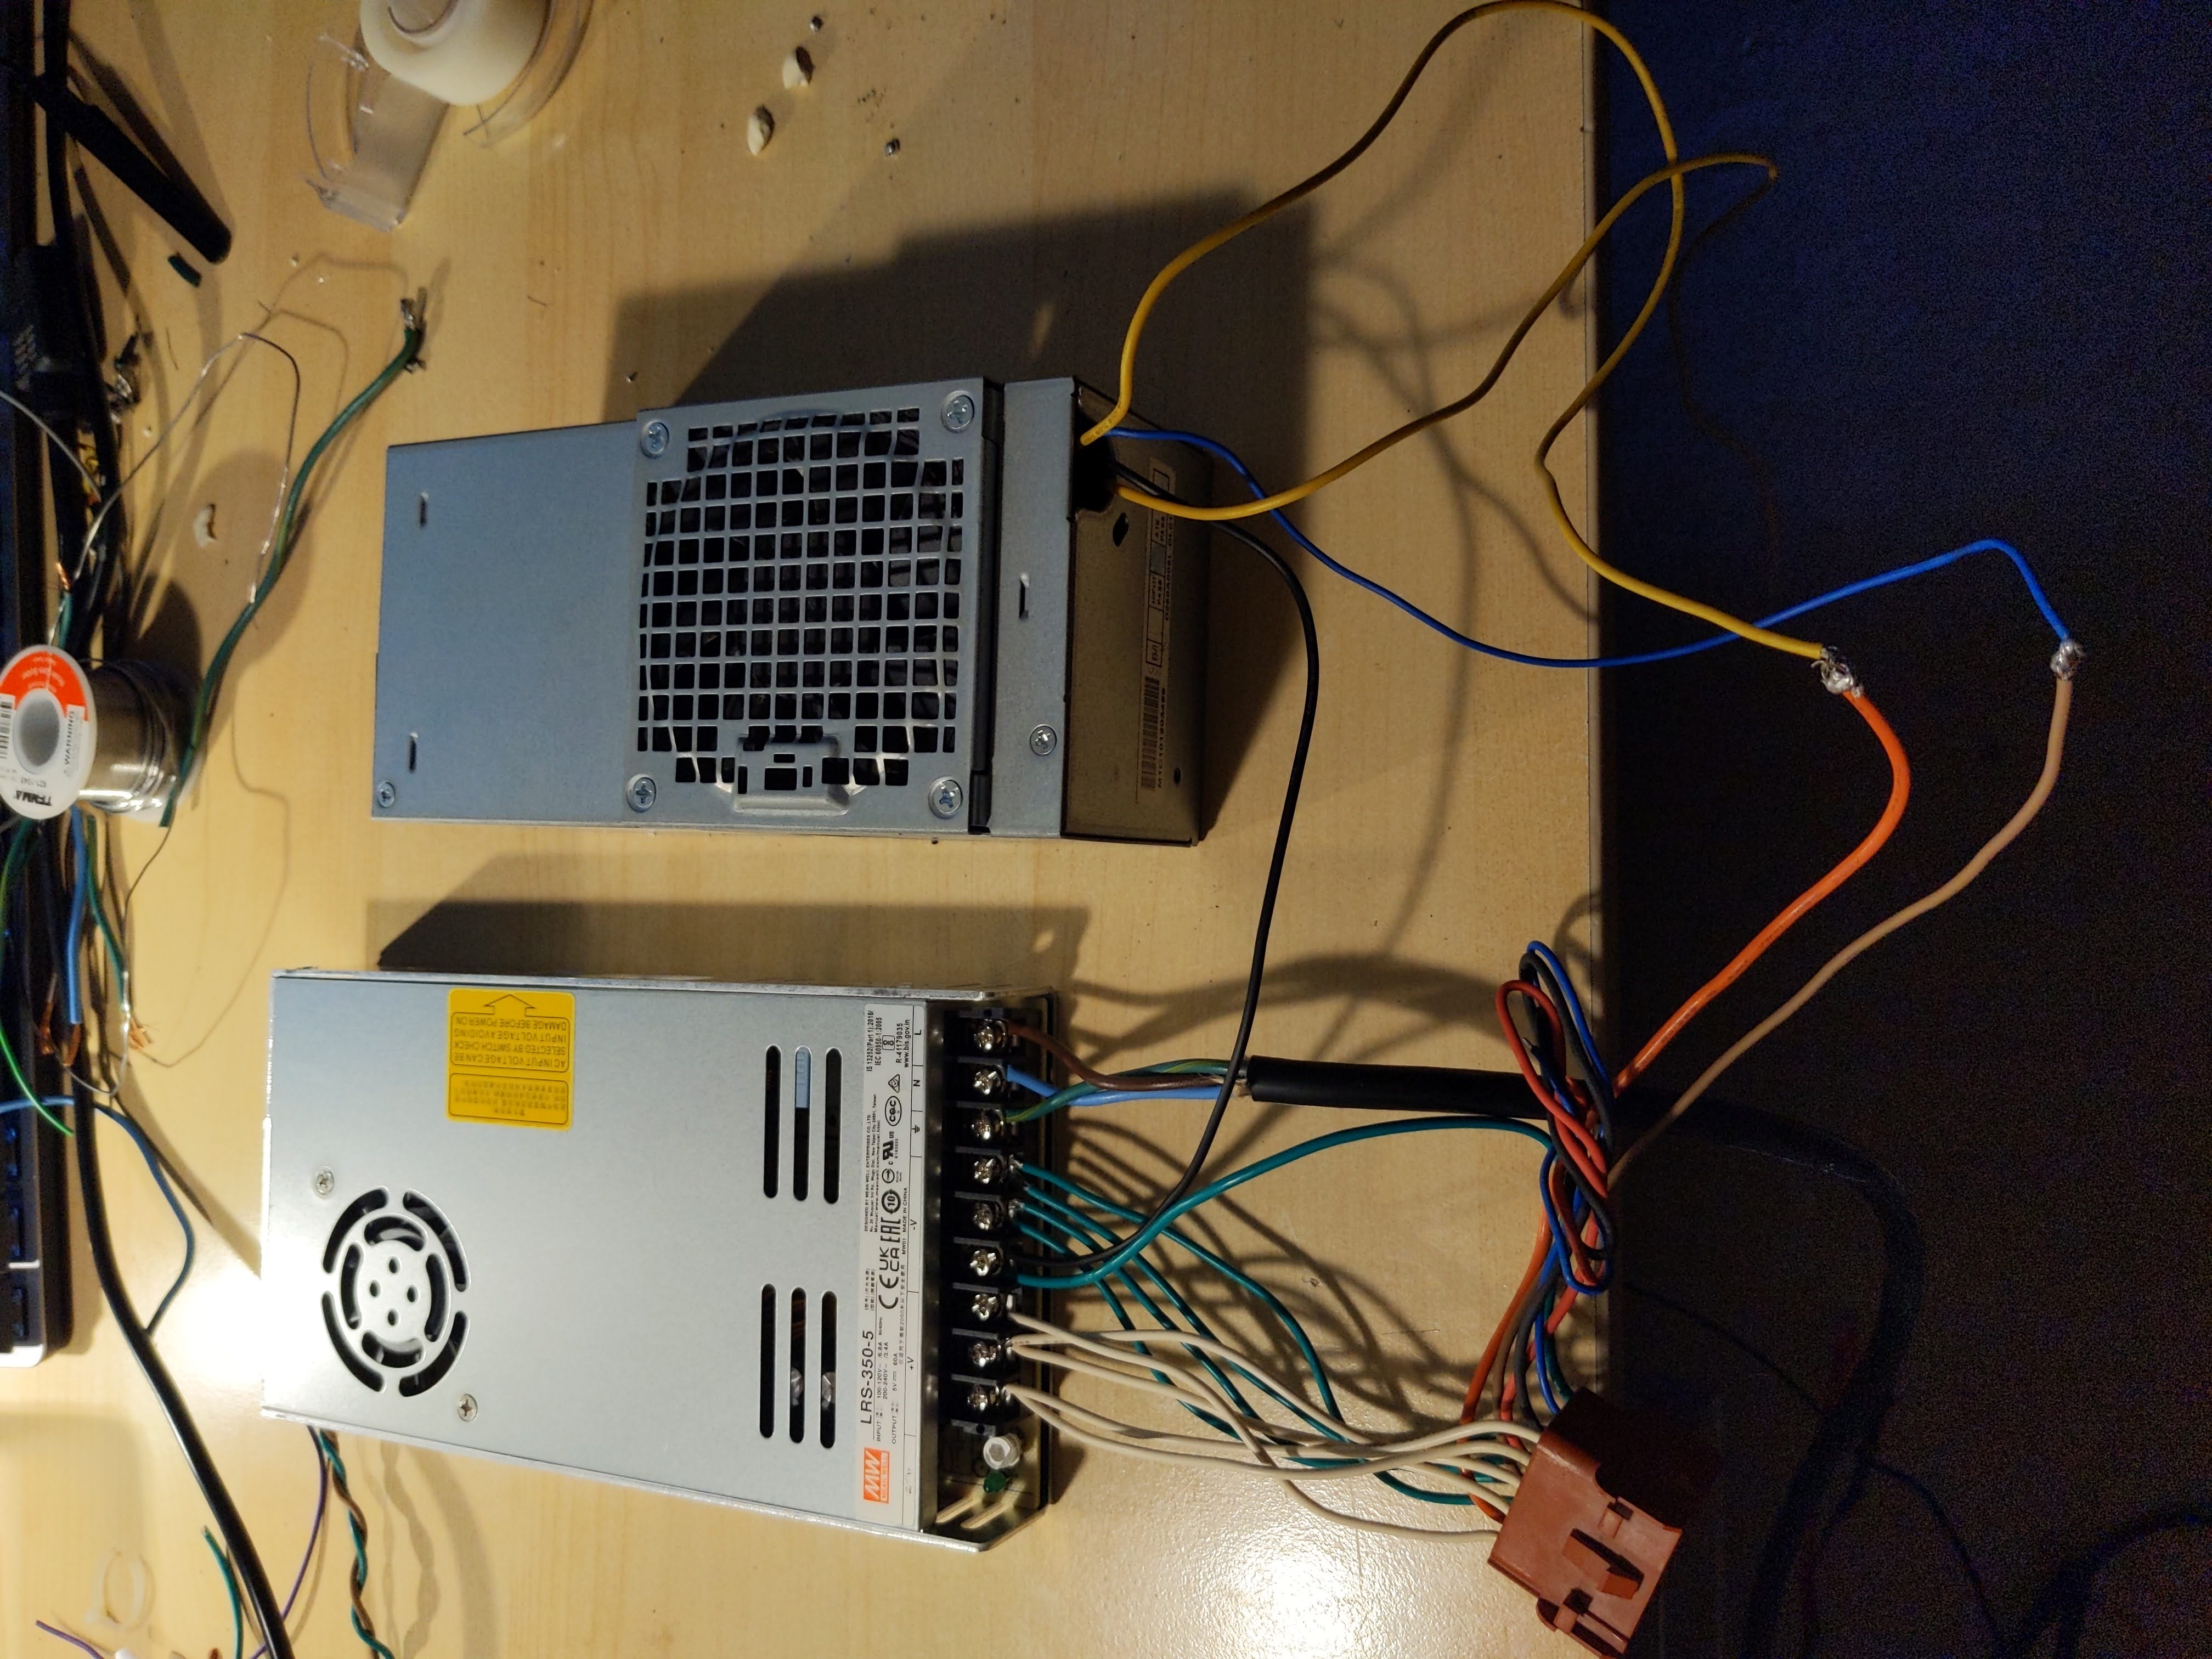
Once I had plugged in the 'new' PSU I was ready to power it all up.
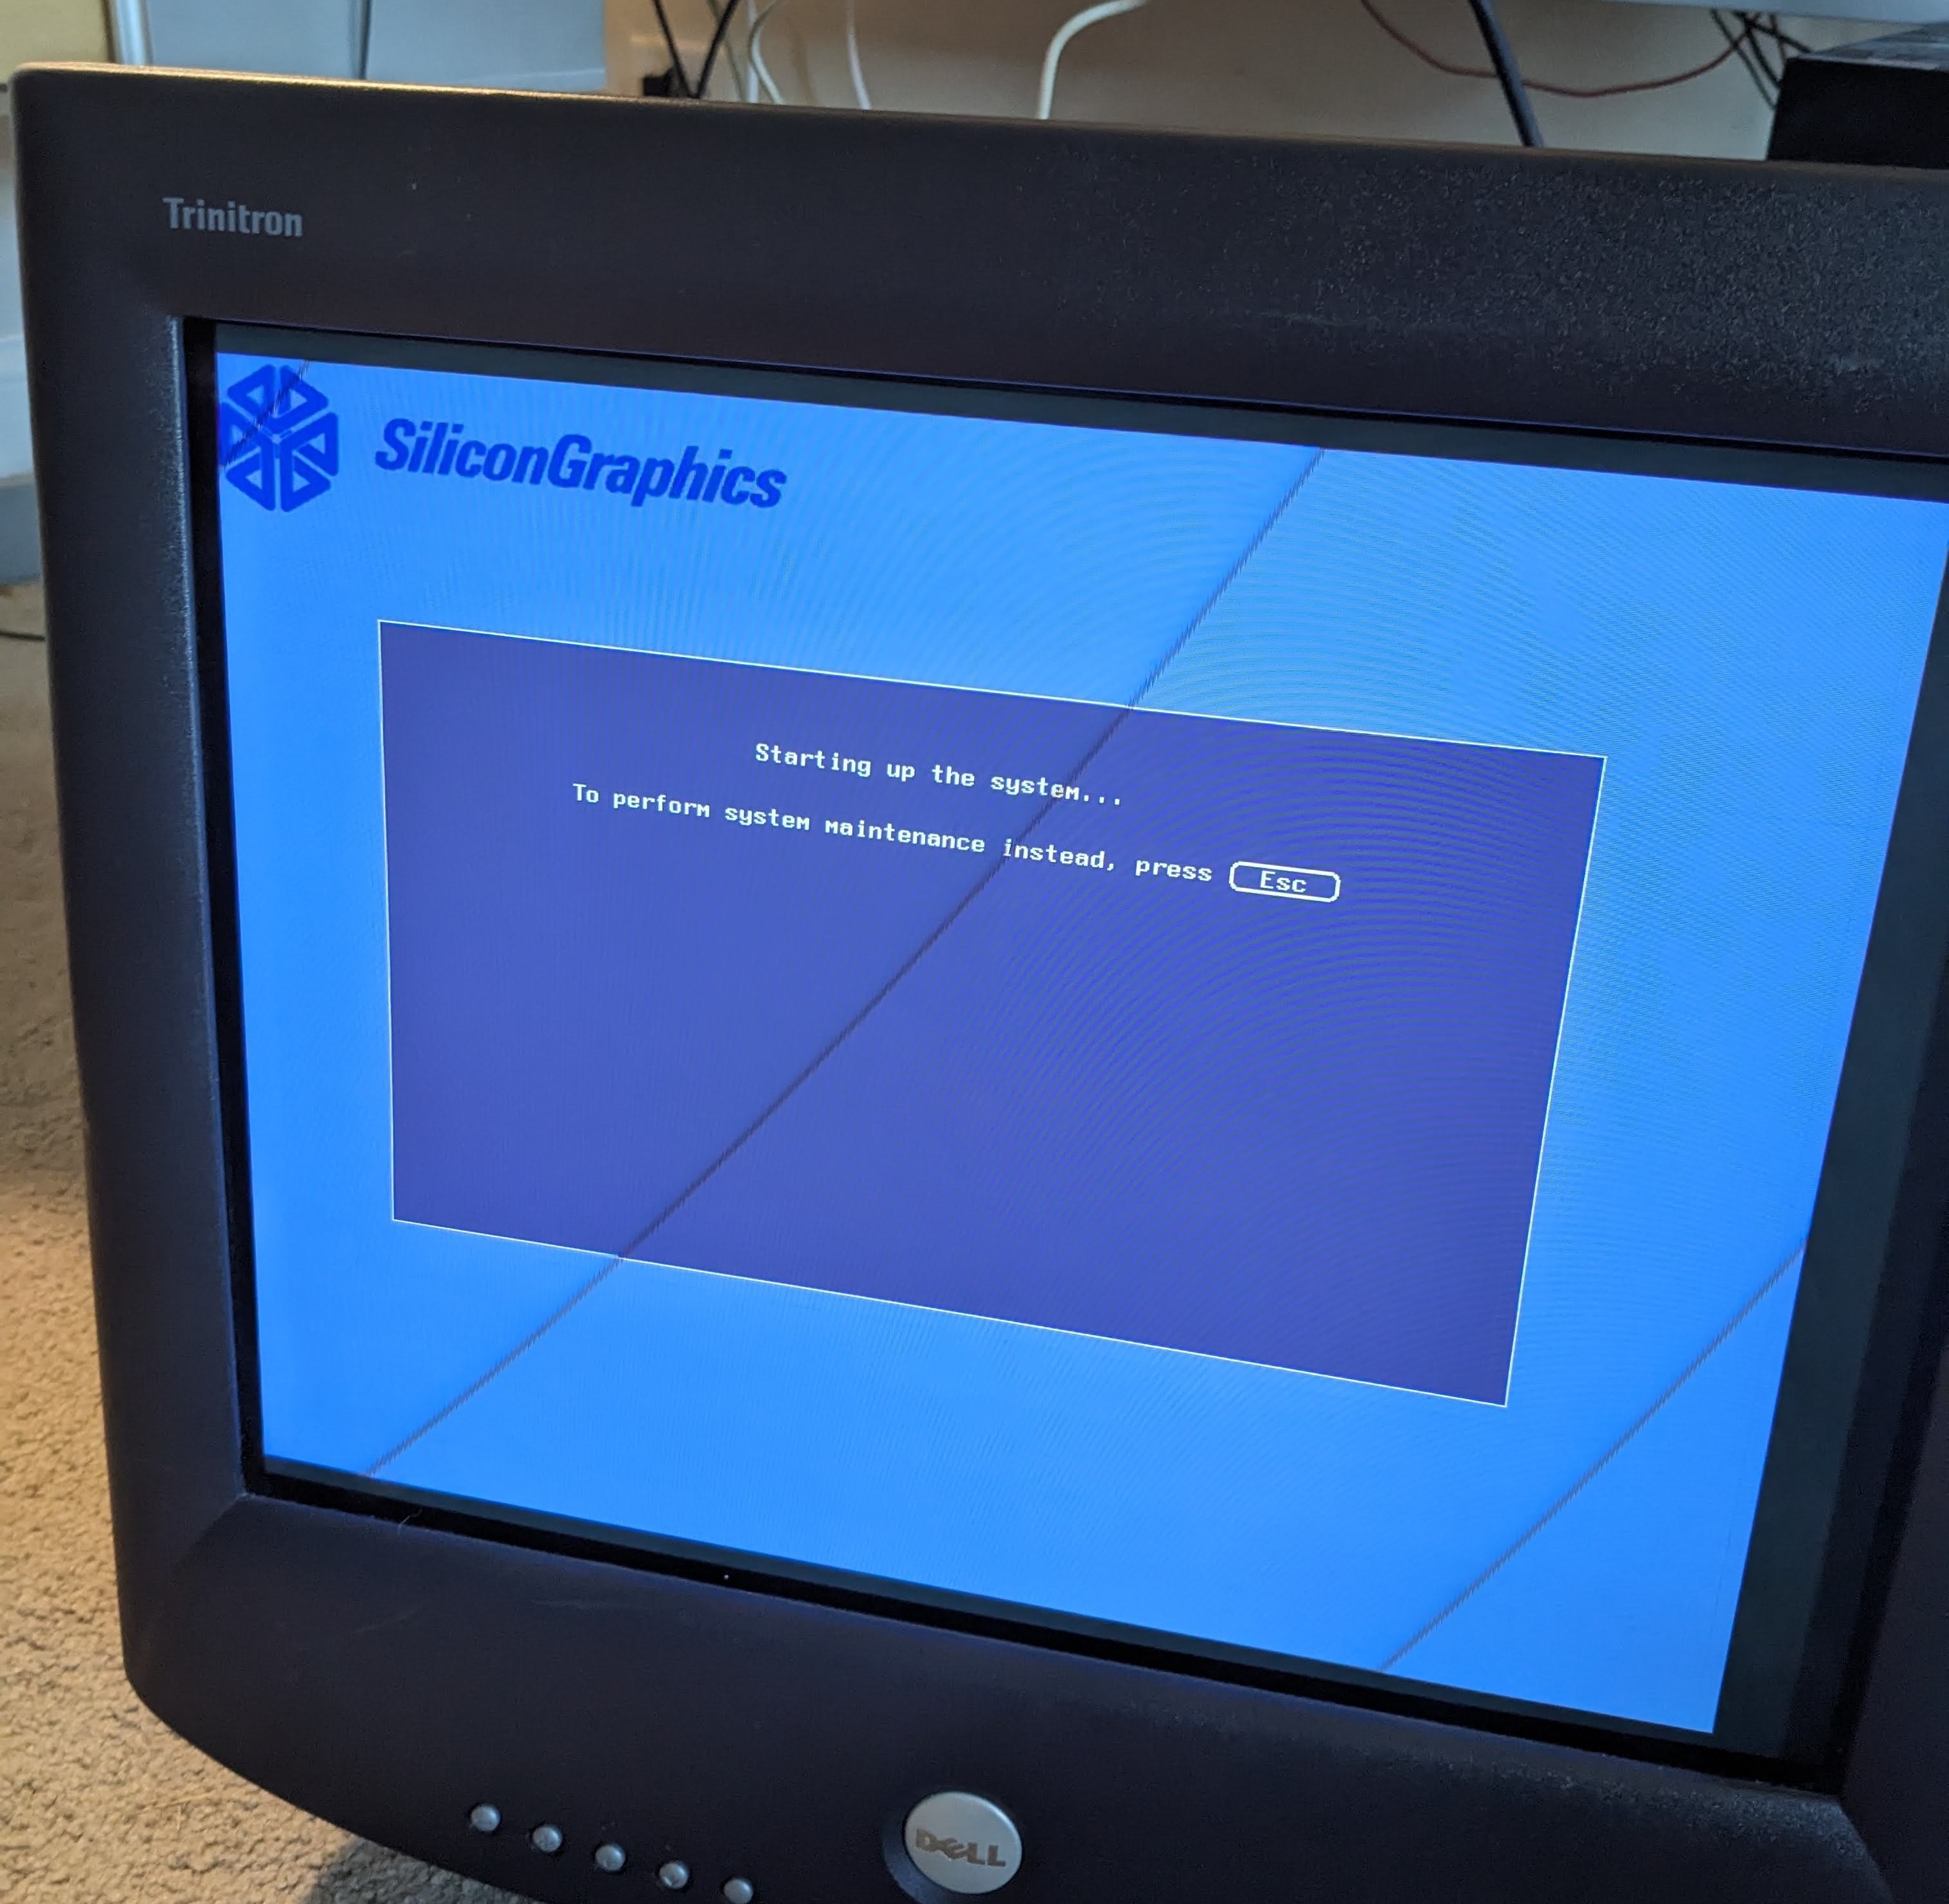
ITS ALIVE!!!
One slight issue, both hard drives in this thing were very dead.
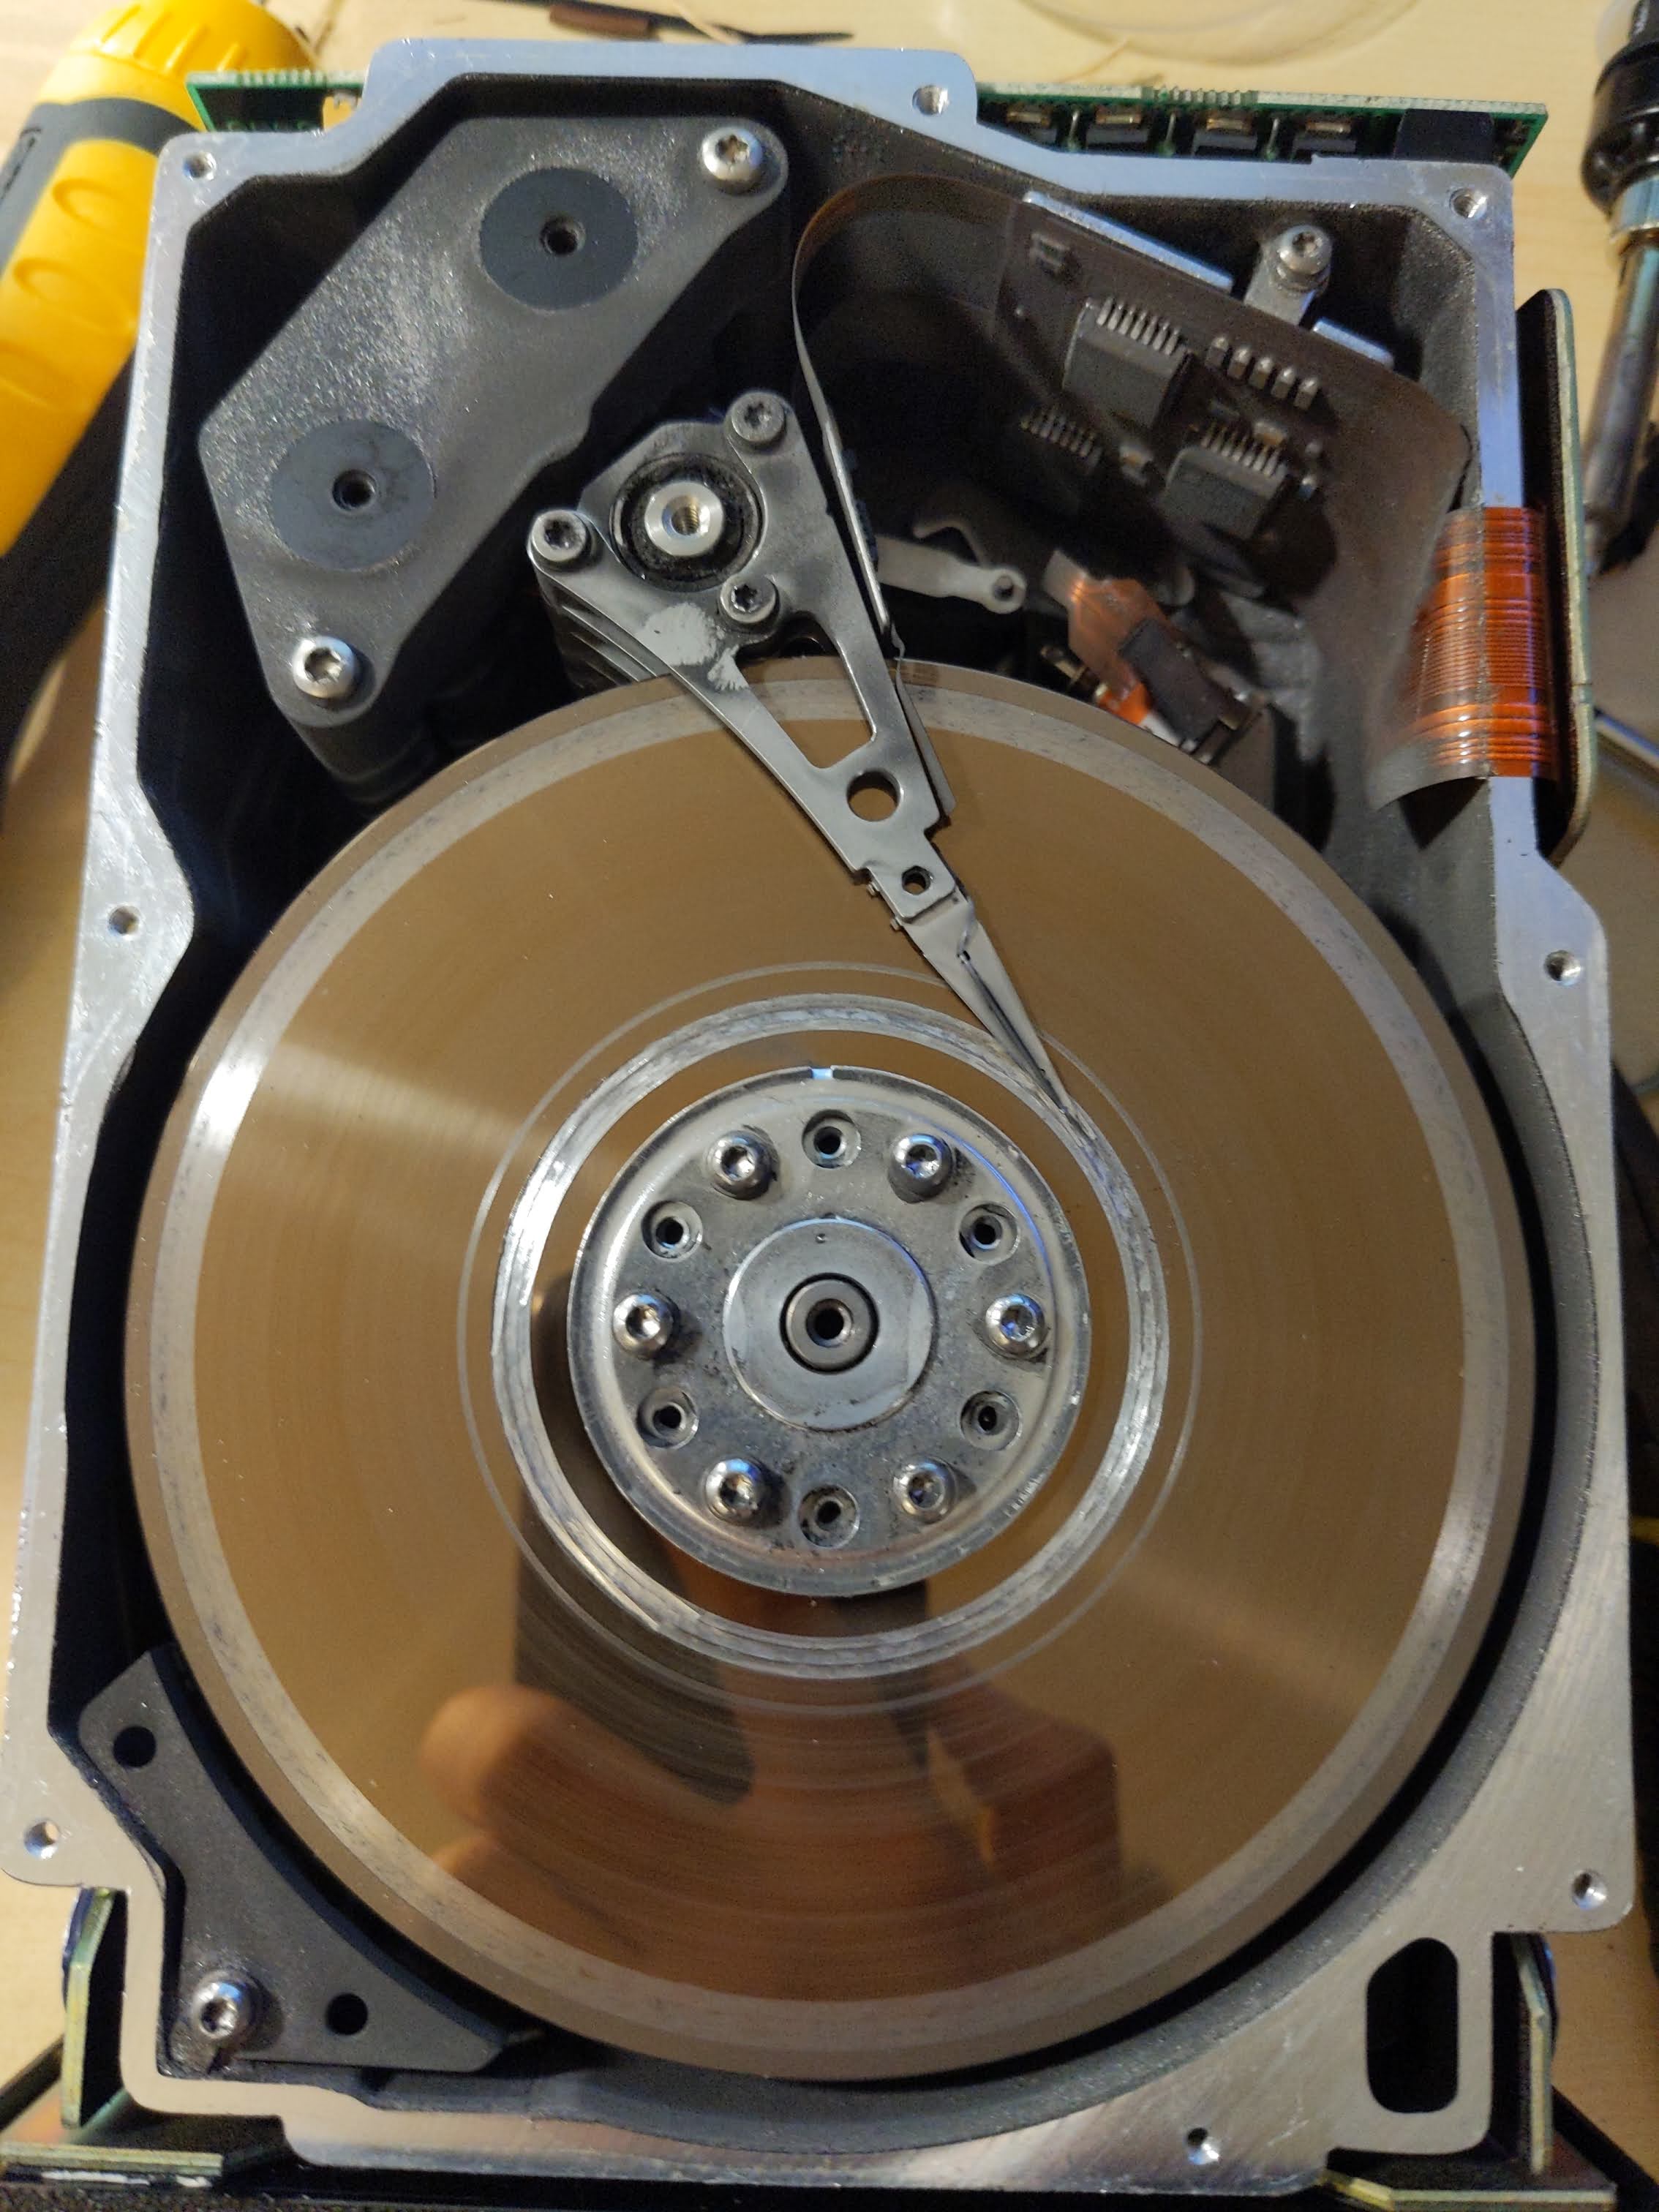
The inside of this drive was coated in metal dust.
This was not as fun as I thought it was going to be. The ip6 prom doesn't support booting off of a cd-rom and I definitely don’t have a tape drive so booting from the network was my only option. First of all you are going to need the media. You can get IRIX 3.3.2 here. Next your going to need a server to boot off of in this case im going to use my o2 running IRIX 6.5.30.
I had used this guide to get the boot server up and running. Here is the link to the page I had also used this website for help too tho some of the commands were funk link
honestly I don't remember much of the setting up the boot server. I kinda blanked out and my notes are far are few between. But here is what I got. extract the IRIX3.3.2 tar file into your netboot directory you shouldn't have to touch anything. Make sure that the netboot server is configured properly with the correct mac in /etc/ethers and shit. (again i don't have my notes for this and im to lazy to see what i did. Writing this whole page has already taken too long I hate configuring the boot server shit. If you have any issues message me on discord at joshyfishy22.)
Make sure that the Personal iris doesn't try to boot from tape with
setenv notape 1
Also make sure that your iris' ip address is set in the prom with
setenv netaddr 'personal iris' ip here'
Once you have the boot server setup its easy as entering these commands.
First you need to load fx the formatting tool. (replace the directory with your path to install media)
boot -f bootp()10.0.0.214:/netboot/3.3.2/4d1-3.3.2-eoe1/dist/sa(fx.IP6) --x
Format the drive and label the drive for booting. here is a guide how to do that. link
note: you might need to boot into sash first to boot into fx for some reason. It works half the time for me. It also will take a long time to load.
Next you need to load into sash (replace the directory with your path to install media)
boot -f bootp()'boot servers ip':/netboot/3.3.2/4d1-3.3.2-eoe1/dist/sa(sash.IP6)
sash is the standalone shell that is used to boot into the IRIX OS. here is more info about sash and how to boot into it on other hardware. link
Once you boot into sash set the tape device as the bootfile.
setenv tapedevice bootp()10.0.0.214:/netboot/IRIX3.3.2/4d1-3.3.2-eoe1/dist/sa
Next lets set the root disk. (Replace the dksc0d1s1 with the correct scsi id, scsi controller, and drive partition)
setenv root dksc0d1s1
Finally lets boot into the installer. Run install
install
The installer will copy the miniroot from the sa file into the swap partition of the root drive. After its done copying it it will reboot into the miniroot and start the inst program to install the OS.
It will ask for you if you want to have a manual install or automatic. Chose manual and select the from option. Input the directories of the install files.
note: here is an example of the directories you would input.
    10.0.0.214:/netboot/IRIX3.3.2/4d1-3.3.2_eoe2/dist
    10.0.0.214:/netboot/IRIX3.3.2/4d1-3.3.2-dev/dist
    10.0.0.214:/netboot/IRIX3.3.2/4d1-3.3.2_ftn/dist
    10.0.0.214:/netboot/IRIX3.3.2/4d1-3.3.2-nfs/dist
    10.0.0.214:/netboot/IRIX3.3.2/showcase_1.0/dist
Once you input all the install directories. Chose install everything with the install option and then go.
After the install is done it will reboot into the new OS.
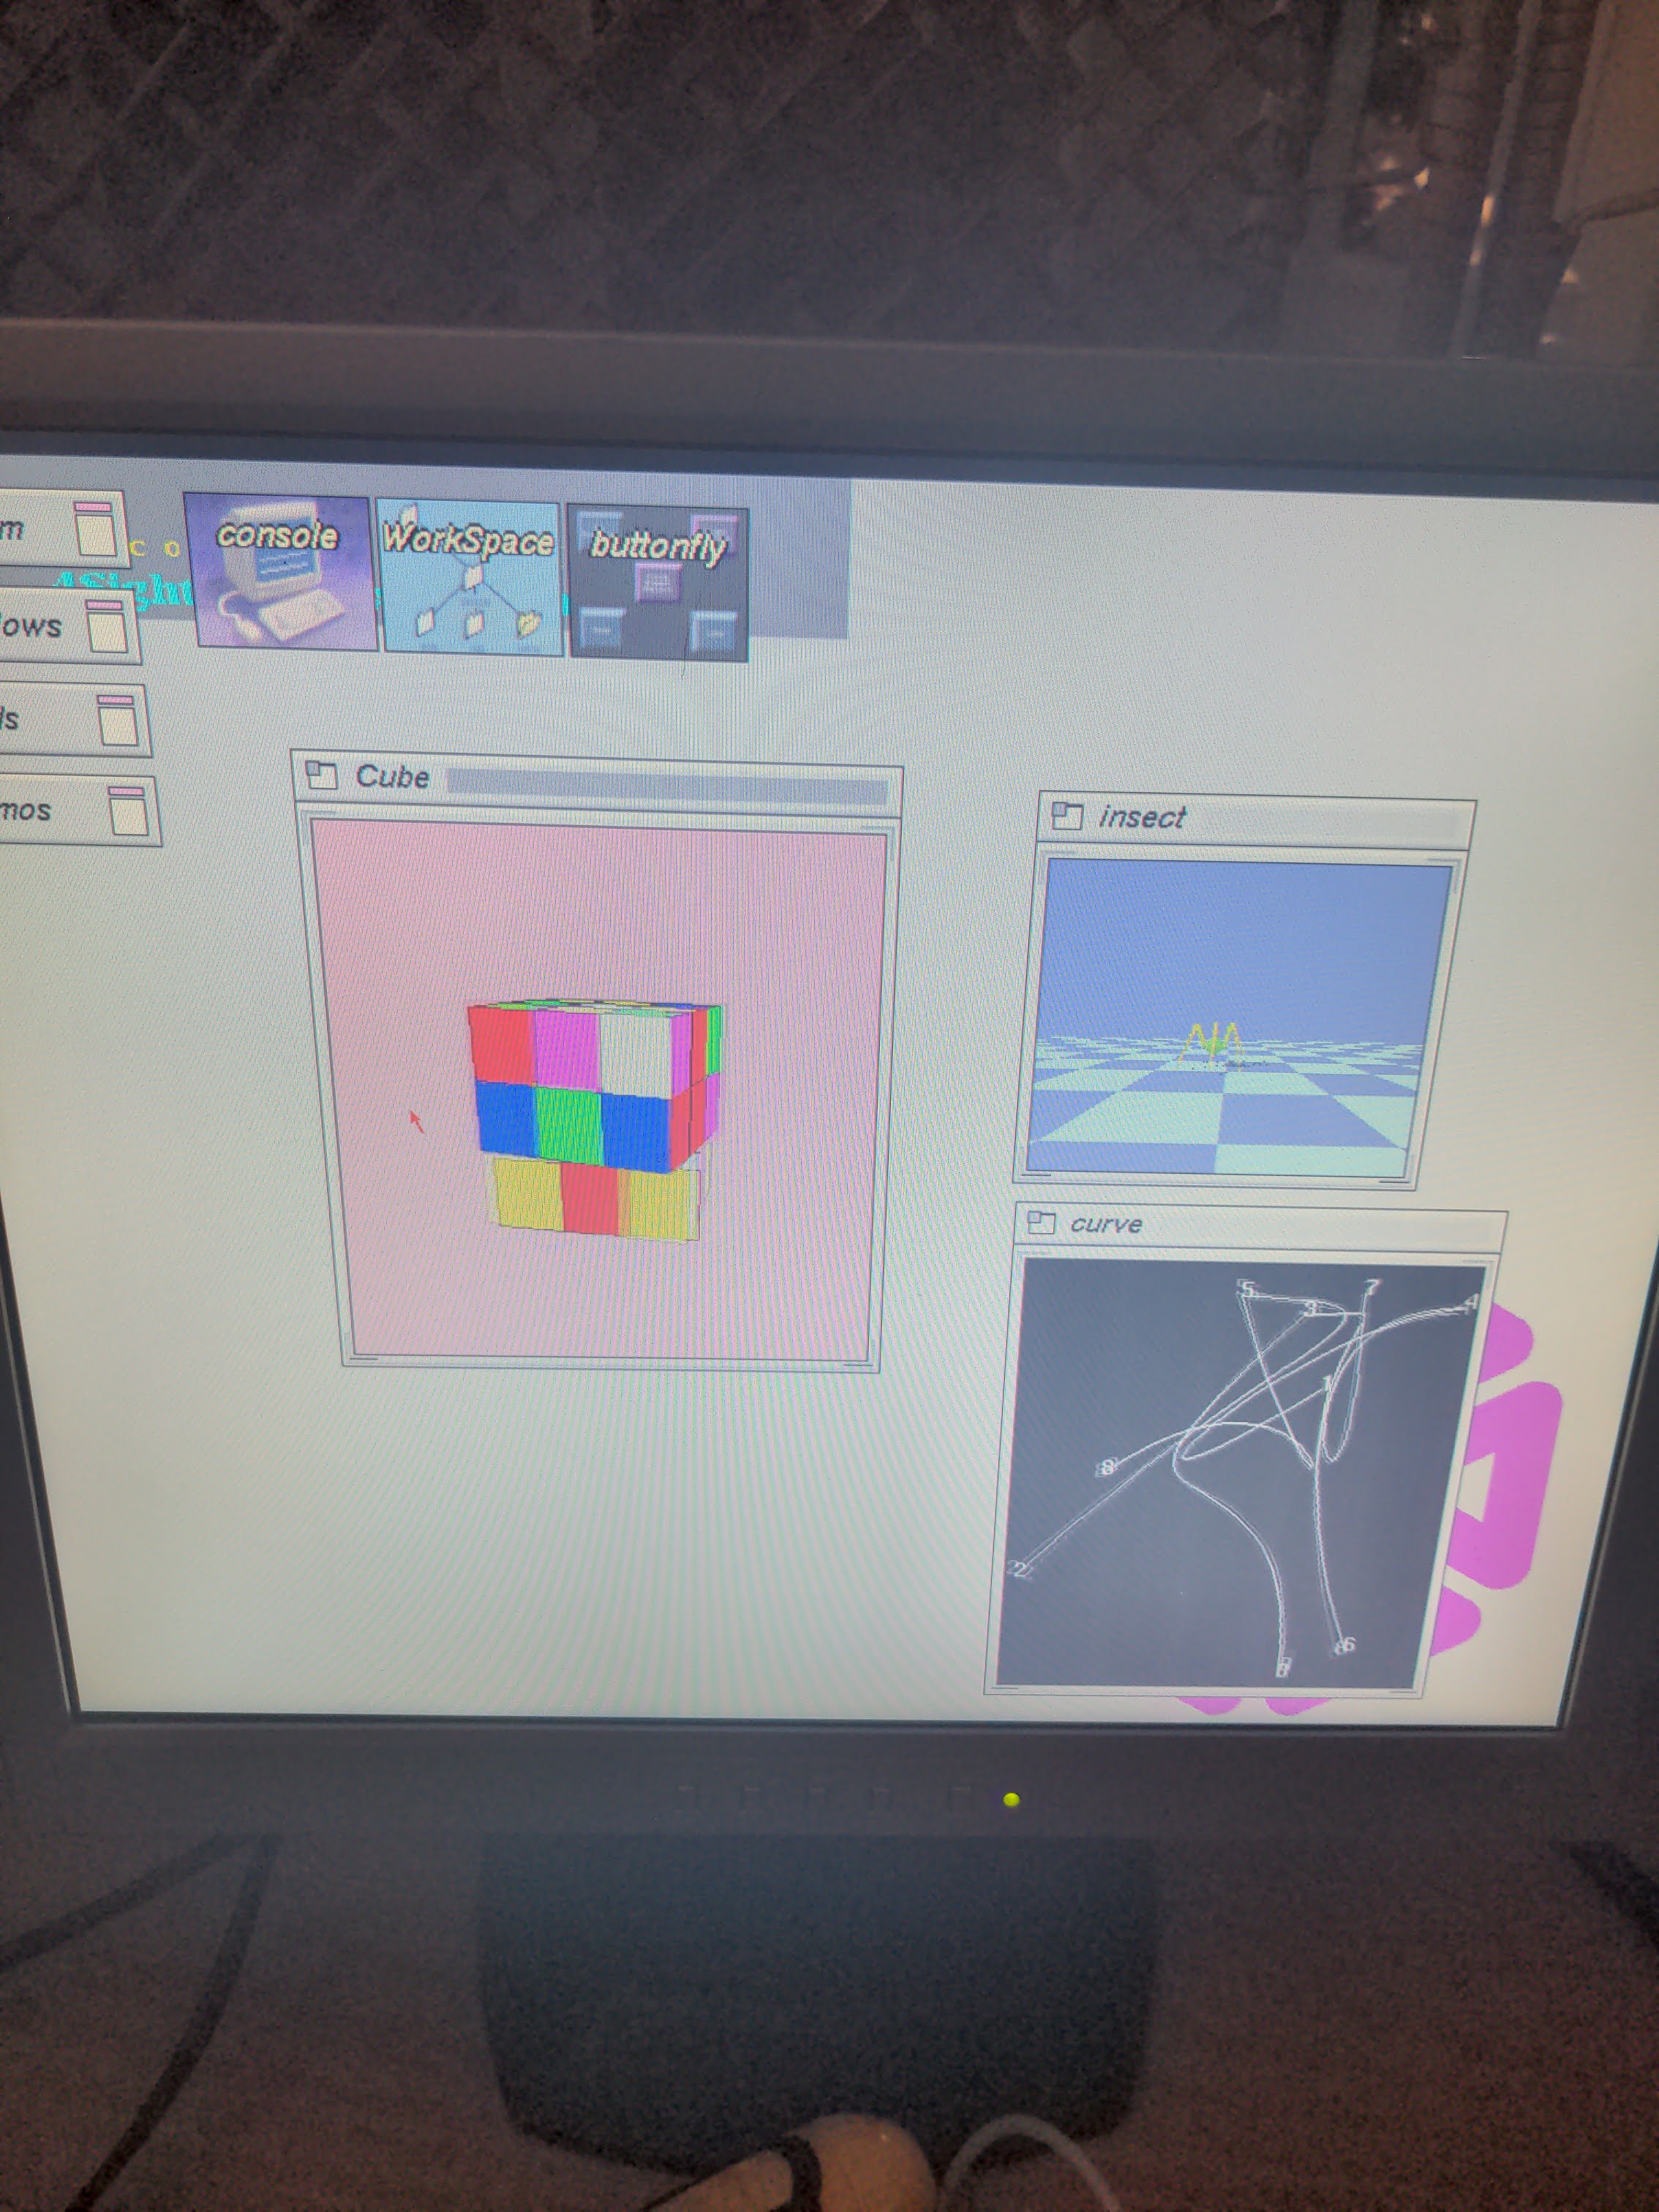
When everything is done enter quit and it will reboot into IRIX 3.3.2
It's not the fastest machine I own but it's probably my favorite. I love this little rust bucket and I hope that I can get some other older sgis. Thanks for reading and if you have any questions dm me at joshyfishy22 on discord or email me at [email protected]